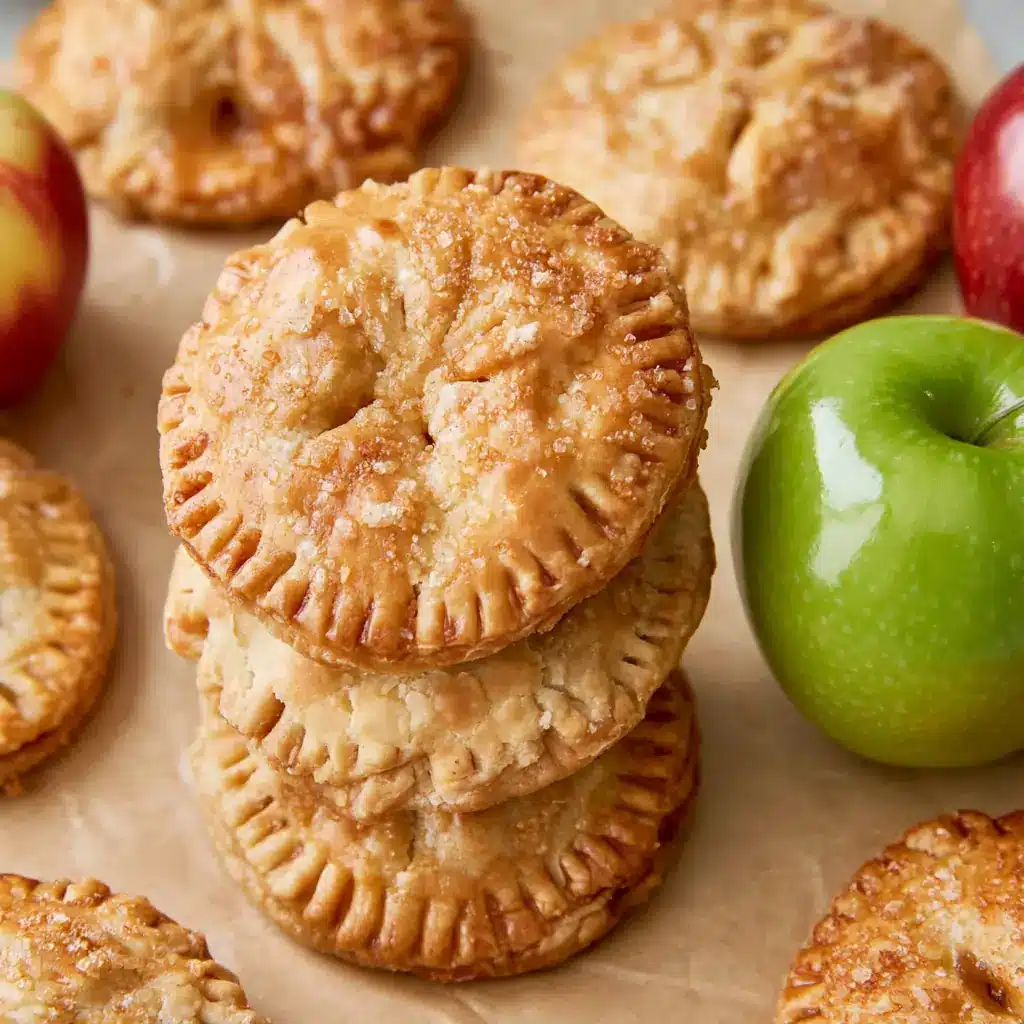
Apple Hand Pies are the perfect portable dessert for fall, combining a buttery, flaky pie crust with a warm cinnamon-spiced apple filling. These individual pies are simple to make with homemade or store-bought pie crust, making them ideal for family gatherings, holiday dessert tables, lunch boxes, or an afternoon treat. Whether you’re craving a classic apple dessert or looking for an easy grab-and-go recipe, these Apple Hand Pies deliver delicious flavor in every bite.
A Cozy Apple Dessert You’ll Want to Make Again
There is something special about homemade Apple Hand Pies. Instead of slicing a traditional pie, everyone gets their own perfectly portioned dessert with a crisp, golden crust and sweet apple filling. They’re easy to transport, freeze well, and taste just as wonderful warm from the oven as they do at room temperature. Whether you’re baking during apple season or simply want a comforting dessert any time of year, this recipe is always a favorite.
Ingredients
- 2 pie crusts (homemade or store-bought)
- 2 cups chopped apples (240 g)
- ¼ cup granulated sugar (50 g)
- 2 tablespoons all-purpose flour (15 g)
- ½ teaspoon pure vanilla extract
- ½–1 teaspoon ground cinnamon
- ⅛ teaspoon ground nutmeg
- 1 large egg, lightly beaten
- 1 tablespoon milk (15 ml)
- 1 tablespoon butter, cut into small cubes (optional)
- Coarse sugar for topping (optional)
Step-by-Step Instructions
Preparing the Ingredients
Preheat your oven to 400°F (204°C). Line one or two baking sheets with parchment paper or silicone baking mats.
On a lightly floured surface, roll each pie crust to about ⅛-inch thick. Cut circles using a 3½-inch cookie cutter or drinking glass. Gather scraps, reroll, and continue cutting until you have 18–20 circles.
Arrange the circles on the prepared baking sheets and refrigerate while preparing the filling.
In a mixing bowl, combine:
- Chopped apples
- Sugar
- Flour
- Vanilla
- Cinnamon
- Nutmeg
Mix until the apples are evenly coated.
In another bowl, whisk together the egg and milk to make the egg wash.
Cooking Instructions
Remove the chilled pie circles from the refrigerator.
Divide the apple filling evenly over half of the circles, leaving a small border around the edges. Add one or two tiny cubes of butter to each pie if using.
Top each filled circle with another pastry round. Lightly brush the edges with water or egg wash and press together. Crimp the edges using a fork.
Brush the tops with the egg wash and sprinkle with coarse sugar if desired. Cut 2–3 small slits in each pie to allow steam to escape.
Bake for 18–22 minutes, or until golden brown and the filling is bubbling.
Allow the pies to cool slightly before serving.
Tips for Perfect Results
Common Mistakes to Avoid
Avoid overfilling the pies, as excess filling can leak during baking. Keep the dough chilled before assembling to help maintain a flaky crust. Dice the apples into small, even pieces so they cook completely in the short baking time.
Pro Tips for Better Flavor
Use a combination of tart and sweet apples for extra depth of flavor. If you enjoy warm spices, increase the cinnamon to one teaspoon. A sprinkle of coarse sugar before baking adds a crisp, sparkling finish.
Serving and Storage
How to Serve
Serve warm on their own or with vanilla ice cream, whipped cream, or a drizzle of caramel sauce. They’re also delicious with a hot cup of coffee, tea, or apple cider.
How to Store Leftovers
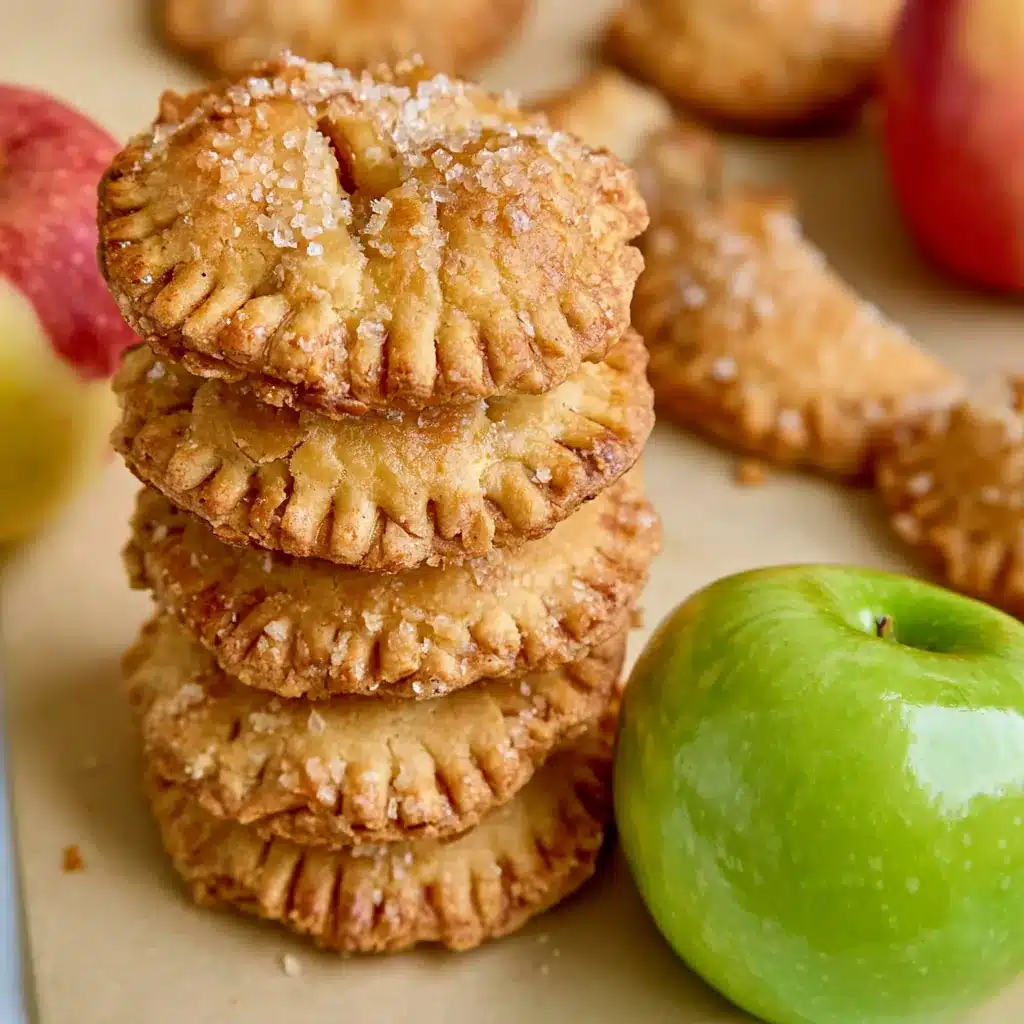
Store cooled Apple Hand Pies in an airtight container at room temperature or in the refrigerator for 3–4 days.
To freeze, cool completely, freeze on a baking sheet until firm, then transfer to a freezer-safe container or bag. Freeze for up to 3 months. Thaw at room temperature and warm in the oven before serving for the best texture.
Conclusion
These Apple Hand Pies are everything you want in a fall dessert—crispy, buttery pastry wrapped around a sweet cinnamon apple filling. They’re easy enough for a weekday baking project yet impressive enough for holidays and special occasions. Once you make a batch, you’ll find plenty of reasons to bake them again throughout apple season.
Discover more delicious recipes by following me on Facebook and Pinterest.
Frequently Asked
Questions
What are the best apples for Apple Hand Pies?
Firm apples such as Honeycrisp, Granny Smith, Braeburn, or Pink Lady work well because they hold their shape during baking.
Can I make Apple Hand Pies ahead of time?
Yes. Assemble the pies and refrigerate them for several hours before baking, or freeze the unbaked pies and bake directly from frozen by adding a few extra minutes to the baking time.
Can I use store-bought pie crust?
Absolutely. Store-bought pie crust makes this recipe quicker while still producing flaky, delicious results.


Apple Hand Pies
- Total Time: 1 hour 5 minutes
- Yield: 10 pies 1x
- Diet: Vegetarian
Description
These Apple Hand Pies feature a sweet cinnamon-spiced apple filling tucked inside a buttery, flaky pie crust. They are easy to make, perfectly portioned, and ideal for fall gatherings, lunch boxes, holiday dessert tables, or a grab-and-go treat.
Ingredients
- 2 pie crusts, homemade or store-bought
- 2 cups chopped apples (240 grams)
- 1/4 cup granulated sugar (50 grams)
- 2 tablespoons all-purpose flour (15 grams)
- 1/2 teaspoon pure vanilla extract
- 1/2 to 1 teaspoon ground cinnamon
- 1/8 teaspoon ground nutmeg
- 1 large egg, lightly beaten
- 1 tablespoon milk (15 milliliters)
- 1 tablespoon butter, cut into small cubes, optional
- Coarse sugar for sprinkling, optional
Instructions
- Preheat the oven to 400°F. Line one or two large baking sheets with parchment paper or silicone baking mats.
- On a lightly floured surface, roll the pie crusts to about 1/8-inch thick.
- Use a 3 1/2-inch cookie cutter or cup to cut 18 to 20 circles, rerolling the scraps as needed.
- Place the pastry circles on the prepared baking sheets and refrigerate them while preparing the filling.
- Combine the chopped apples, granulated sugar, flour, vanilla extract, cinnamon, and nutmeg in a mixing bowl until the apples are evenly coated.
- Whisk the egg and milk together in a separate bowl to make the egg wash.
- Remove the chilled pastry circles from the refrigerator and divide the apple filling evenly over half of them, leaving space around the edges.
- Place one or two small butter cubes over the filling on each pie, if using.
- Top each filled circle with another pastry circle.
- Lightly dampen the edges with water or egg wash, then press and crimp the edges with a fork.
- Brush the tops with egg wash, sprinkle with coarse sugar, and cut two or three small slits in each pie.
- Bake for 18 to 22 minutes, or until the crusts are golden brown and the filling bubbles.
- Let the hand pies cool slightly before serving.
Notes
- Dice the apples into small, even pieces so they soften during the short baking time.
- Use 1/2 teaspoon cinnamon for mild spice or 1 teaspoon for a stronger cinnamon flavor.
- Do not overfill the pies, or the filling may leak while baking.
- Store cooled pies in an airtight container at room temperature or in the refrigerator for 3 to 4 days.
- To freeze, place cooled pies on a parchment-lined baking sheet and freeze for 2 to 3 hours. Wrap tightly and store in a freezer-safe bag or container for up to 3 months.
- Thaw frozen pies at room temperature before serving. Warm them briefly in the oven for a crisper crust.
- Prep Time: 45 minutes
- Cook Time: 20 minutes
- Category: Dessert
- Method: Baking
- Cuisine: American
Nutrition
- Serving Size: 1 pie
- Calories: 268
- Sugar: 10
- Sodium: 235
- Fat: 14
- Saturated Fat: 6
- Unsaturated Fat: 7
- Trans Fat: 0
- Carbohydrates: 34
- Fiber: 2
- Protein: 3
- Cholesterol: 25