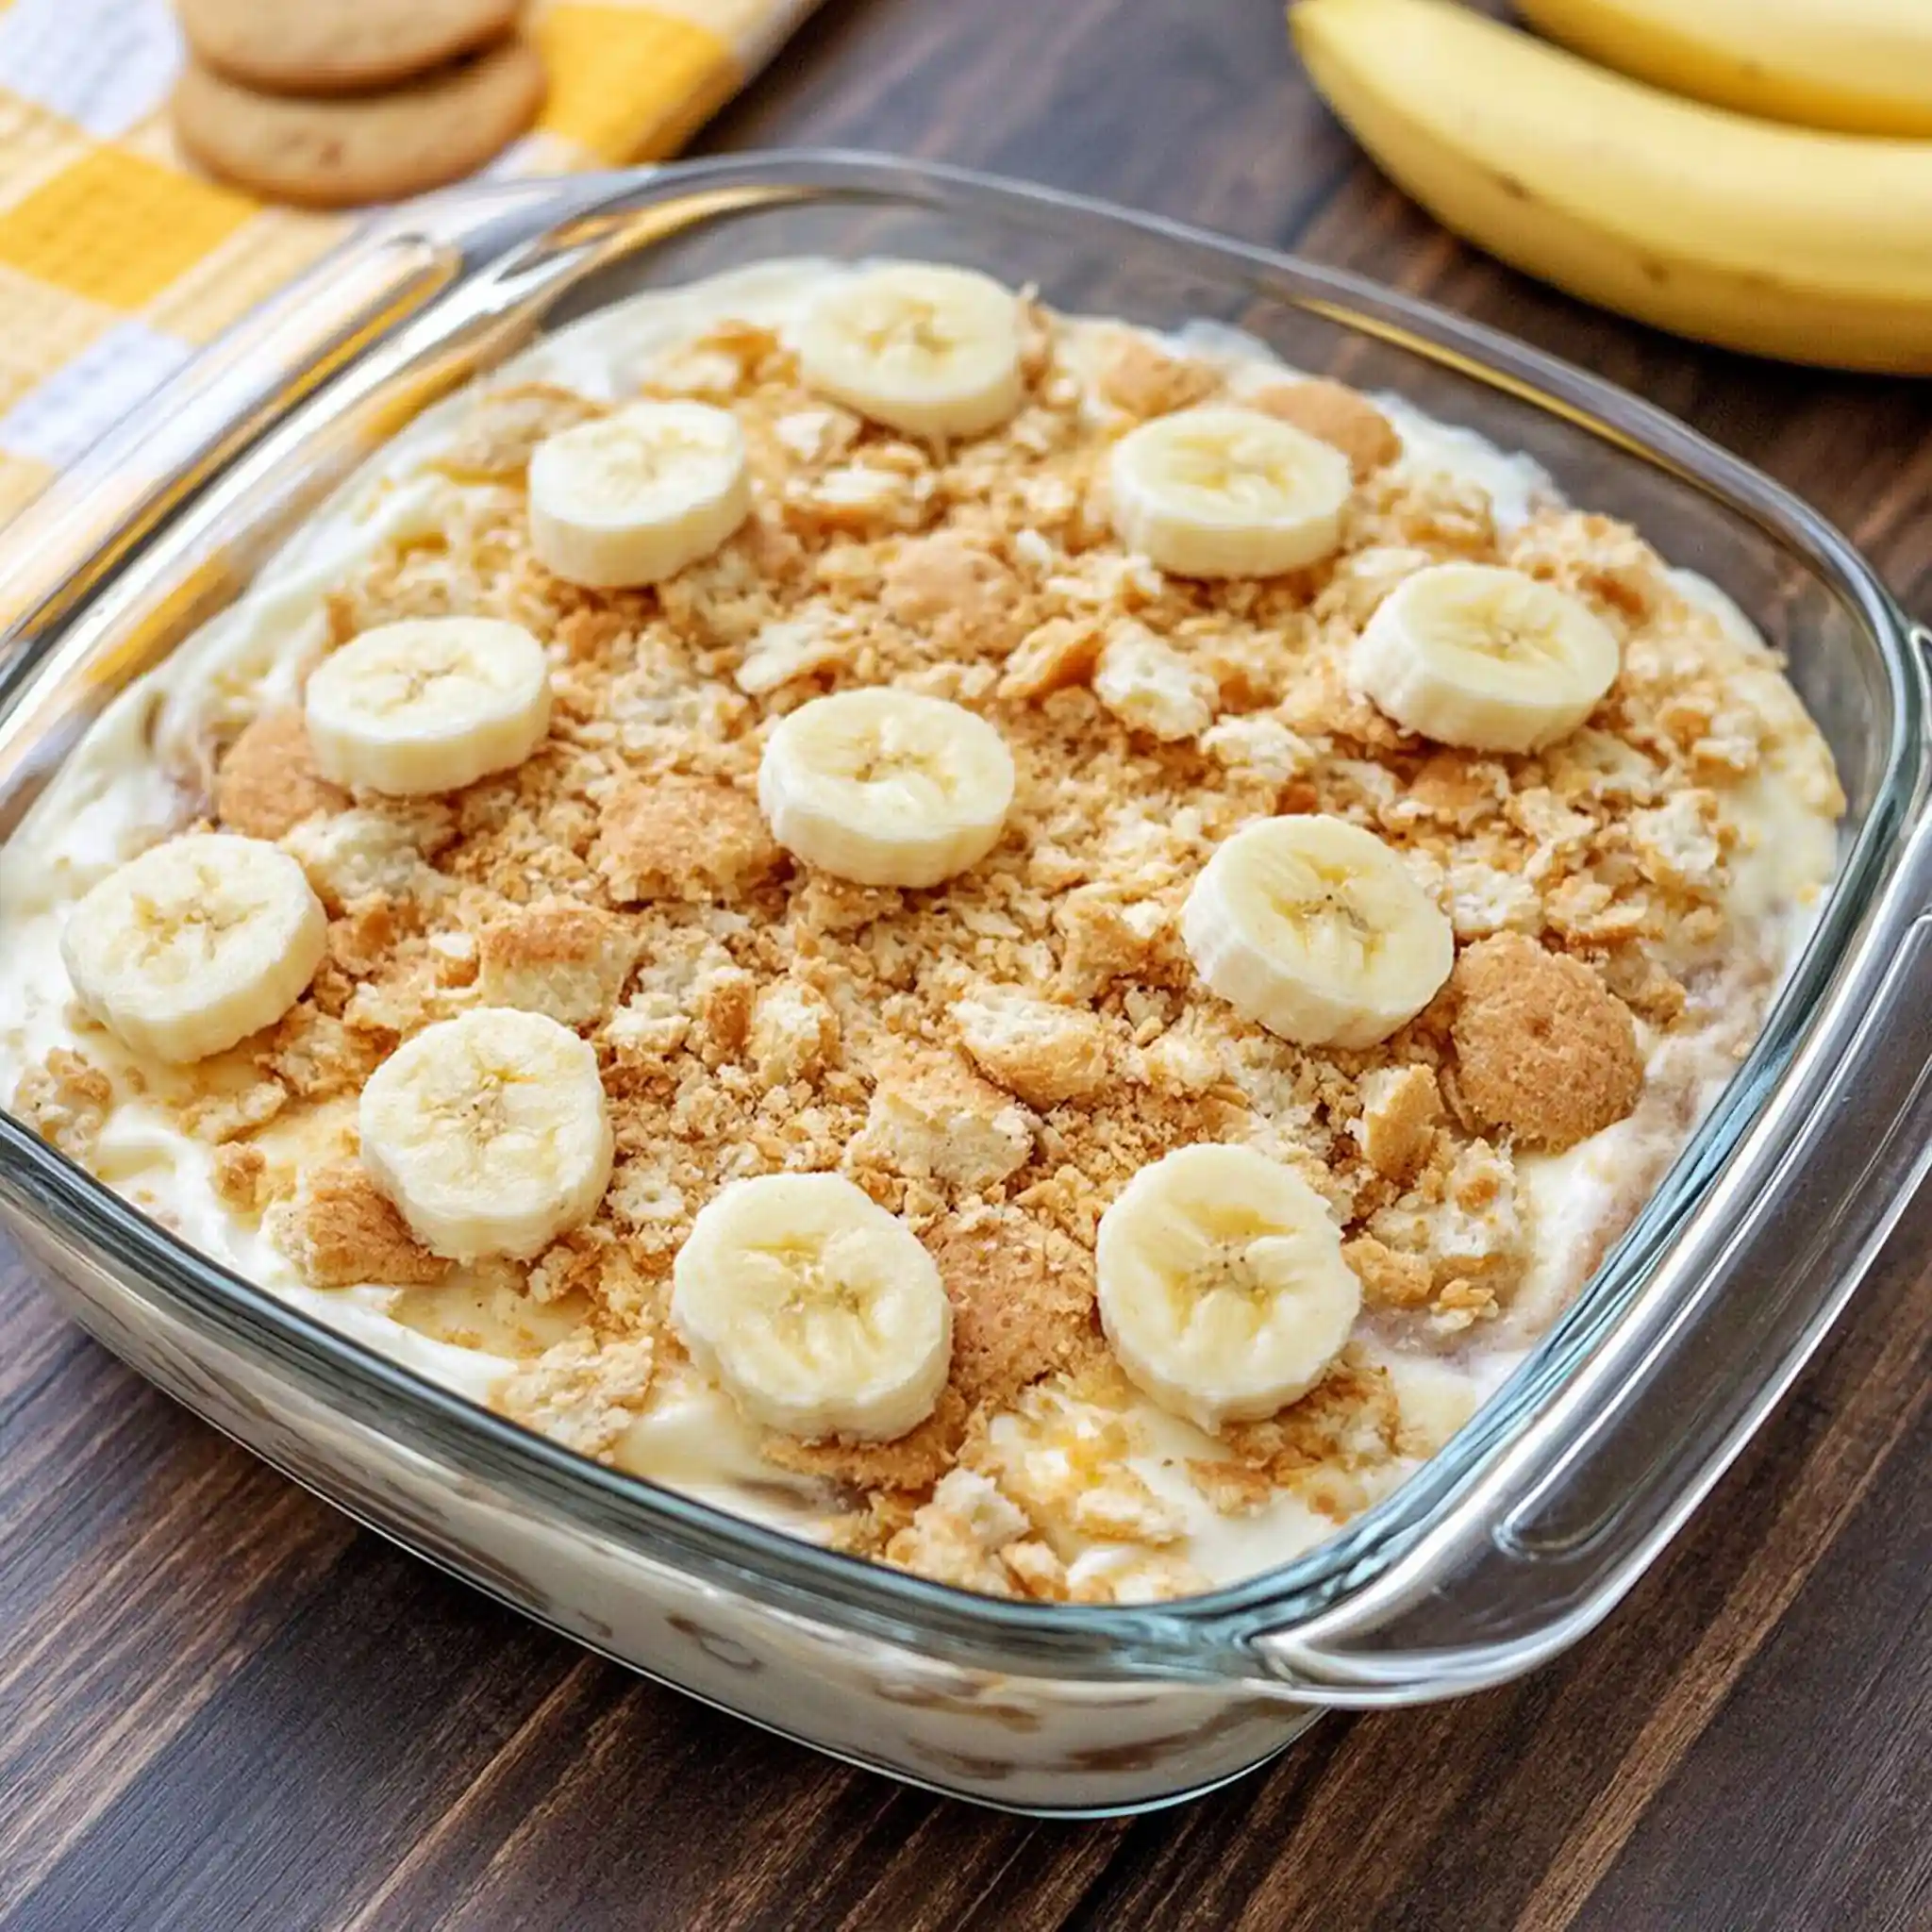
Homemade Banana Pudding is one of those timeless desserts that brings comfort with every spoonful. This creamy, layered treat combines rich vanilla pudding, sweet bananas, and crisp vanilla wafers that soften into a cake-like texture as the dessert chills. Whether you need a reliable dessert for a family gathering, holiday meal, or neighborhood potluck, this recipe delivers classic flavor without complicated steps. Because it uses simple pantry ingredients, Homemade Banana Pudding remains a favorite choice for home cooks who want a satisfying dessert that feels both nostalgic and special.
Story
Growing up, Homemade Banana Pudding always appeared at family celebrations, church dinners, and summer cookouts. The combination of creamy pudding, fresh bananas, and vanilla wafers created a dessert that everyone eagerly anticipated. Over the years, I learned that the secret to outstanding Homemade Banana Pudding is patience. While the recipe comes together quickly, the chilling time allows the flavors to blend beautifully and gives the wafers their signature soft texture. As a result, this old-fashioned banana pudding becomes richer and more flavorful overnight, making it an excellent make-ahead dessert for any occasion.
Ingredients
This recipe uses simple ingredients that work together to create a smooth pudding, naturally sweet banana layers, and the classic texture that makes vanilla wafer dessert recipes so popular across generations.
- ¾ cup sugar
- ¼ cup all-purpose flour
- ¼ teaspoon salt
- 3 cups milk
- 3 large eggs
- 2 teaspoons vanilla extract
- 1 box vanilla wafers (about 8 ounces)
- 4 bananas, sliced
Step-by-Step Instructions
This easy banana pudding recipe follows a straightforward process that creates a rich homemade custard before layering everything into a chilled dessert that tastes even better the next day.
Preparing the Ingredients
Begin by gathering all ingredients and equipment. In a saucepan, whisk together the sugar, flour, and salt until evenly combined. Slowly add the milk while whisking continuously to prevent lumps from forming. Slice the bananas into even rounds and set them aside. In a separate bowl, lightly whisk the eggs so they are ready for tempering later in the cooking process.
Cooking Instructions
Place the saucepan over medium heat and cook the milk mixture until it thickens and becomes bubbly. Reduce the heat and continue cooking for two additional minutes. Slowly whisk a small amount of the hot mixture into the eggs, then return the egg mixture to the saucepan. Cook until a gentle boil begins and continue for about two minutes. Stir in the vanilla extract and allow the pudding to cool for fifteen minutes, stirring occasionally. Arrange about twenty-five vanilla wafers in an 8-inch square baking dish and top with half of the sliced bananas. Pour half of the pudding over the layers. Repeat the process with the remaining wafers, bananas, and pudding. Cover tightly and refrigerate for at least four hours or overnight. Before serving, crush the remaining wafers and sprinkle them over the top.
Tips for Perfect Results
A few simple techniques can make a noticeable difference in the final texture and flavor of your Homemade Banana Pudding. Therefore, paying attention to ingredient quality and preparation methods helps create the best possible result every time.
Common Mistakes to Avoid
Avoid rushing the pudding-making process because excessive heat can cause the eggs to cook unevenly. Additionally, do not skip tempering the eggs, since this step creates a smooth custard. Using underripe bananas can also reduce flavor and sweetness. Furthermore, serving the pudding before it chills fully prevents the wafers from softening properly and limits flavor development.
Pro Tips for Better Flavor
Choose bananas that have a few brown speckles on the peel because they provide deeper sweetness and stronger banana flavor. High-quality vanilla extract adds noticeable richness to the custard. Moreover, allowing the dessert to chill overnight creates a smoother texture and a more balanced taste. For an extra touch, reserve a few wafer crumbs for garnish immediately before serving to add a slight crunch.
Serving and Storage
This dessert works wonderfully for holidays, birthdays, picnics, and casual family dinners. Since it can be prepared in advance, it remains one of the most practical desserts for entertaining large groups.
How to Serve
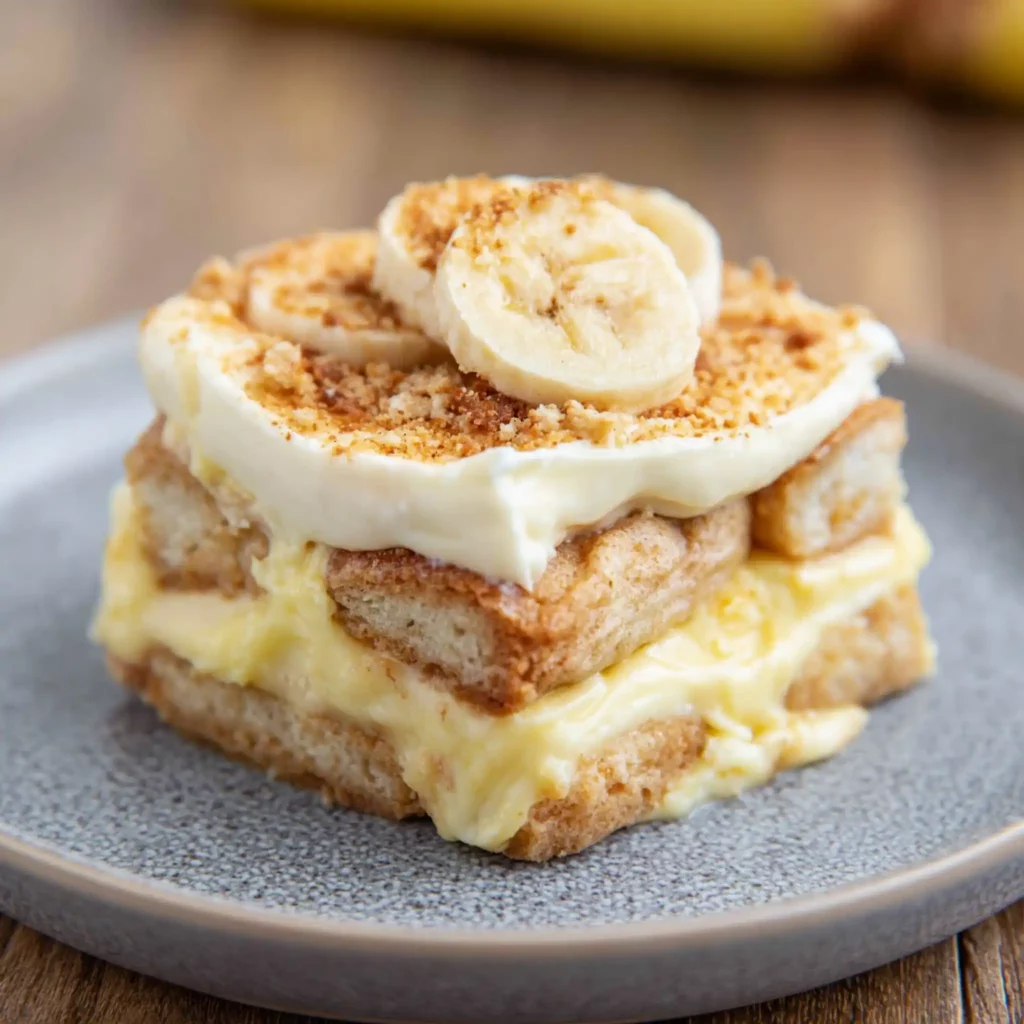
Serve Homemade Banana Pudding cold directly from the refrigerator. Because the pudding becomes firmer as it chills, each serving holds its shape beautifully while remaining creamy. This dessert pairs well with coffee, iced tea, or a simple glass of milk. It also fits perfectly on dessert tables alongside cakes, cookies, and other classic Southern treats.
How to Store Leftovers
Cover the dish tightly with plastic wrap or transfer leftovers to an airtight container before refrigerating. The pudding stays fresh for up to four days. However, freezing is not recommended because the custard and bananas can release moisture during thawing, resulting in a watery texture that affects overall quality.
Conclusion
Homemade Banana Pudding continues to stand the test of time because it combines simple ingredients with comforting flavor. The creamy vanilla custard, sweet bananas, and softened vanilla wafers create a dessert that feels familiar and satisfying with every bite. Whether you prepare it for a holiday gathering, family dinner, or potluck dessert, this recipe offers dependable results and classic Southern charm that guests always appreciate.
Discover more delicious recipes by following me on Facebook and Pinterest.
Frequently Asked Questions
Can I make Homemade Banana Pudding a day ahead?
Yes. In fact, many people prefer making it the day before serving because the wafers soften perfectly and the flavors blend more completely during the extended chilling period.
Can I use store-brand vanilla wafers?
Yes, although traditional Nilla Wafers often provide the most familiar flavor and texture. Still, most vanilla wafer brands work well in this recipe and produce excellent results.
How do I keep bananas from turning brown?
The pudding layers help protect the bananas from air exposure. In addition, keeping the dessert covered and refrigerated reduces browning and helps maintain freshness throughout storage.
Print
Homemade Banana Pudding
- Total Time: 4 hours 20 minutes
- Yield: 8 servings 1x
Description
Creamy homemade banana pudding layered with vanilla wafers and fresh bananas for a classic Southern dessert perfect for potlucks, holidays, and family gatherings.
Ingredients
- 3/4 cup sugar
- 1/4 cup flour
- 1/4 teaspoon salt
- 3 cups milk
- 3 eggs
- 2 teaspoons vanilla extract
- 1 box vanilla wafers (8 oz)
- 4 bananas, sliced
Instructions
- Whisk sugar, flour, and salt in a saucepan.
- Slowly whisk in milk and cook over medium heat until thickened and bubbly.
- Reduce heat and cook for 2 more minutes.
- Whisk eggs in a small bowl.
- Slowly add some hot pudding mixture to eggs while whisking.
- Return egg mixture to saucepan and cook until a gentle boil begins.
- Cook for 2 minutes more.
- Stir in vanilla extract and cool for 15 minutes.
- Layer vanilla wafers in an 8-inch square baking dish.
- Add half the sliced bananas.
- Pour half the pudding over the bananas.
- Repeat layers and finish with pudding on top.
- Cover and refrigerate for at least 4 hours or overnight.
- Crush remaining wafers over the top before serving.
Notes
- Use ripe bananas with a few brown spots.
- Classic Nilla Wafers provide the best texture.
- Chill overnight for best flavor.
- Store refrigerated up to 4 days.
- Do not freeze.
- Prep Time: 20 minutes
- Category: Dessert
- Method: Chilled
- Cuisine: American
Nutrition
- Serving Size: 1 serving
- Calories: 221
- Sugar: 31
- Sodium: 132
- Fat: 5
- Saturated Fat: 2
- Unsaturated Fat: 2
- Trans Fat: 1
- Carbohydrates: 40
- Fiber: 2
- Protein: 6
- Cholesterol: 72