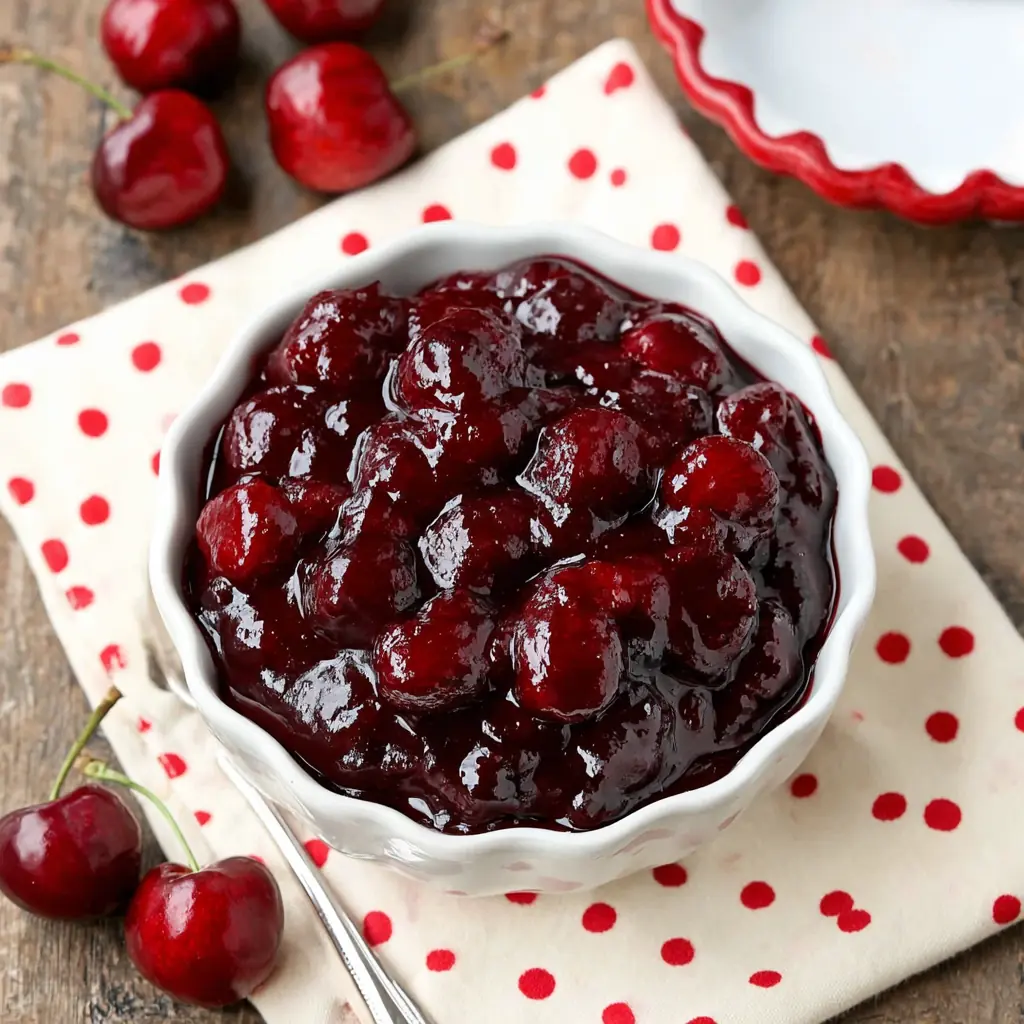
Homemade Cherry Pie Filling brings bright cherry flavor, a glossy texture, and just the right balance of sweetness to your favorite desserts. This simple recipe comes together with only a few pantry staples and fresh or frozen cherries, so you can skip canned filling and make something far more flavorful at home. Whether you spoon it into a pie crust, layer it over cheesecake, or swirl it into yogurt, this homemade pie filling adds rich fruit flavor to every bite. Because the recipe cooks quickly and stores well, it works perfectly for holidays, weekend baking, or quick dessert cravings any time of year.
Story
I started making Homemade Cherry Pie Filling after tasting one too many overly sweet canned versions that lacked real cherry flavor. Once I realized how quickly fresh filling comes together on the stovetop, I never looked back. This Homemade Cherry Pie Filling tastes brighter, fresher, and far more balanced because the cherries stay front and center. I also love how flexible the recipe feels because it works as a cherry dessert filling, a topping for ice cream, or even a spoonable cheesecake topping for special occasions. Since the recipe uses basic ingredients and simple steps, it quickly became one of my favorite baking staples.
Ingredients
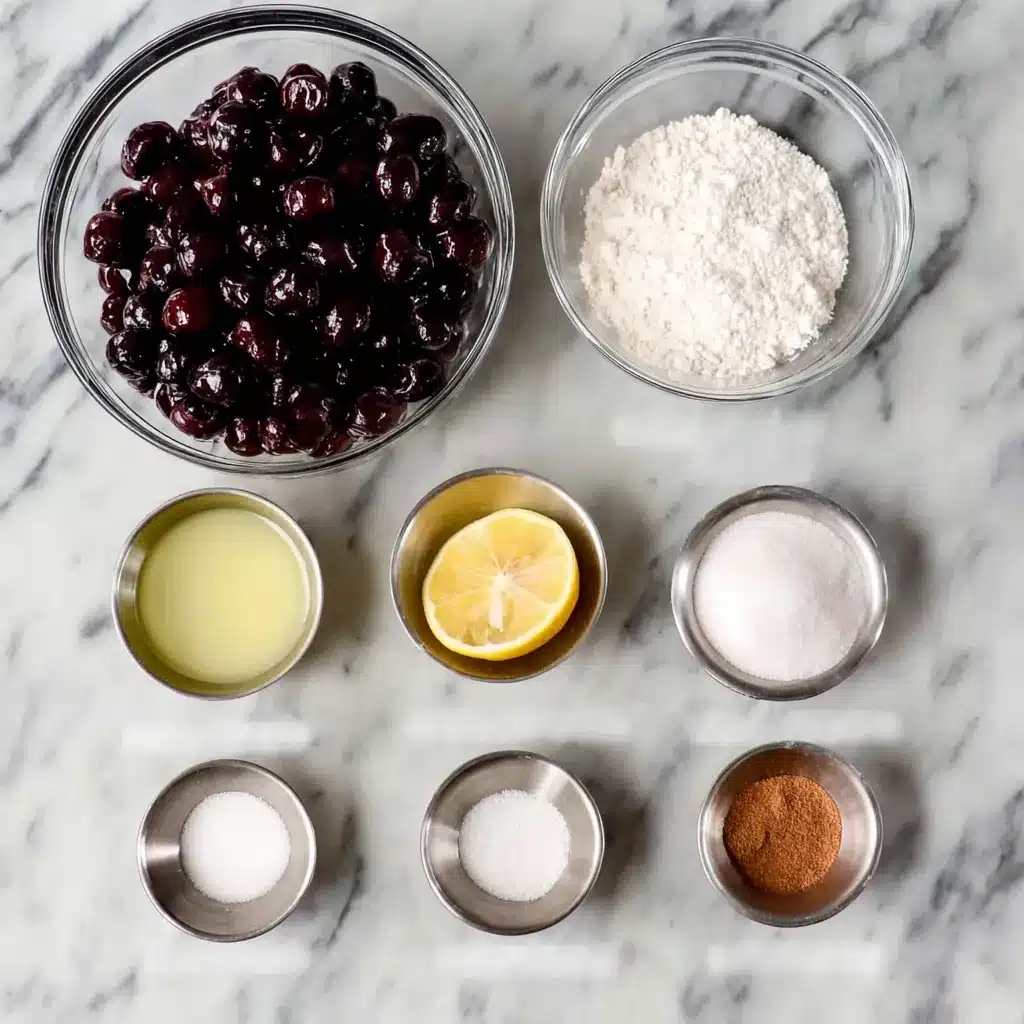
- 4 cups pitted cherries, thawed if frozen
- 1 cup granulated sugar
- 2 tablespoons lemon juice
- ¼ cup cornstarch
- Pinch of salt
- ⅛ teaspoon cinnamon, optional
- 2 prepared pie crusts if making pie
- 1 tablespoon granulated sugar for topping, optional
Step-by-Step Instructions
Preparing the Ingredients
Wash and pit the cherries carefully before starting the recipe. If using frozen cherries, thaw them completely and drain excess liquid if necessary. Measure the sugar, cornstarch, lemon juice, salt, and cinnamon before heating the pan because the filling thickens quickly once cooking begins. Prepare the pie crusts ahead of time if you plan to bake a pie immediately after making the filling. This preparation keeps the cooking process smooth and helps the Homemade Cherry Pie Filling develop an even texture without lumps.
Cooking Instructions
Add the cherries, sugar, lemon juice, cornstarch, salt, and cinnamon to a saucepan over medium heat. Stir constantly while the mixture warms and begins releasing juices. If the cherries appear dry, add a few tablespoons of water until the filling loosens slightly. Bring the mixture to a gentle simmer, then reduce the heat to medium-low and cook for about 8 to 10 minutes until thick and glossy. For pie baking, pour the filling into a prepared crust, cover with the top crust, cut steam vents, and bake at 375 degrees Fahrenheit for 45 to 50 minutes until golden and bubbling.
Tips for Perfect Results
Common Mistakes to Avoid
Do not rush the thickening process by turning the heat too high because the sugars can scorch quickly. Stir frequently so the cornstarch cooks evenly and the filling stays smooth. Avoid adding too much liquid at the start since cherries naturally release juices during cooking. If the filling thickens too much after chilling, warm it gently before serving. Overbaking the pie can also dry out the filling, so remove it once the crust turns golden and the center bubbles steadily.
Pro Tips for Better Flavor
Use tart cherries for a brighter flavor or sweet cherries for a richer dessert-style filling. A small pinch of cinnamon adds warmth without overpowering the fruit, while fresh lemon juice sharpens the overall flavor beautifully. For extra depth, mix sweet and tart cherries together. This easy cherry recipe also tastes wonderful with almond extract stirred in after cooking because almonds naturally pair well with cherries. Let the filling cool slightly before using so it thickens into the perfect spoonable consistency.
Serving and Storage
How to Serve
Serve Homemade Cherry Pie Filling warm over vanilla ice cream, pancakes, waffles, cheesecake, or yogurt for an easy dessert upgrade. The filling also works beautifully inside hand pies, turnovers, pastries, and layered trifles. During holidays, I often spoon it over baked cheesecake because the glossy cherries create a bakery-style presentation with very little effort. If serving as pie filling, allow the baked pie to cool for several hours before slicing so the filling sets properly.
How to Store Leftovers
Store leftover Homemade Cherry Pie Filling in an airtight container in the refrigerator for up to five days. For longer storage, freeze the cooled filling in freezer-safe containers for up to three months. Thaw overnight in the refrigerator before reheating gently on the stovetop or in the microwave. The filling thickens as it chills, although it loosens again once warmed. If needed, stir in a splash of water while reheating to restore the original texture.
Conclusion
Homemade Cherry Pie Filling proves that simple ingredients can create rich, fresh flavor without much effort. Because the recipe cooks quickly and adapts easily to different desserts, it belongs in every home baker’s recipe collection. Whether you use it for pies, pastries, or creamy cheesecake toppings, this filling delivers vibrant cherry flavor in every spoonful. Once you try this homemade version, canned filling will never taste quite the same again.
Discover more delicious recipes by following me on Facebook and Pinterest.
Frequently Asked Questions
Can I use frozen cherries for Homemade Cherry Pie Filling?
Yes, frozen cherries work very well in Homemade Cherry Pie Filling. Thaw them before cooking and drain excess liquid if needed so the filling thickens properly during simmering.
How do I make the filling less sweet?
Reduce the sugar to about ½ cup if you prefer a more tart filling or if your cherries already taste very sweet. Taste the filling while cooking and adjust carefully.
Can I make Homemade Cherry Pie Filling ahead of time?
Absolutely. Homemade Cherry Pie Filling stores well in the refrigerator for several days and freezes beautifully, making it perfect for preparing before holidays or gatherings.
Print
Homemade Cherry Pie Filling
- Total Time: 30 minutes
- Yield: 4 cups 1x
- Diet: Vegetarian
Description
Sweet and glossy Homemade Cherry Pie Filling made with simple ingredients for pies, cheesecake, pastries, and desserts.
Ingredients
- 4 cups pitted cherries
- 1 cup granulated sugar
- 2 tablespoons lemon juice
- 1/4 cup cornstarch
- Pinch of salt
- 1/8 teaspoon cinnamon
- 2 prepared pie crusts
- 1 tablespoon granulated sugar for topping
Instructions
- Wash and pit the cherries before starting the recipe.
- Add cherries, sugar, lemon juice, cornstarch, salt, and cinnamon to a saucepan over medium heat.
- Stir constantly while the mixture heats and releases juices.
- Add a splash of water if needed for a thinner consistency.
- Bring to a simmer and cook for 8 to 10 minutes until thickened.
- Remove from heat and cool slightly before using.
- For pie baking, pour filling into prepared crust.
- Cover with top crust and cut steam vents.
- Sprinkle sugar over the crust if desired.
- Bake at 375 degrees Fahrenheit for 45 to 50 minutes until golden and bubbling.
Notes
- Reduce sugar for a more tart filling if desired.
- Frozen cherries should thaw completely before cooking.
- Store in the refrigerator for up to 5 days.
- Freeze for up to 3 months in airtight containers.
- Warm gently before serving if the filling becomes too thick.
- Prep Time: 10 minutes
- Cook Time: 20 minutes
- Category: Dessert
- Method: Stovetop
- Cuisine: American
Nutrition
- Serving Size: 1 cup
- Calories: 712
- Sugar: 71
- Sodium: 349
- Fat: 23
- Saturated Fat: 7
- Unsaturated Fat: 13
- Trans Fat: 0
- Carbohydrates: 124
- Fiber: 5
- Protein: 7
- Cholesterol: 0