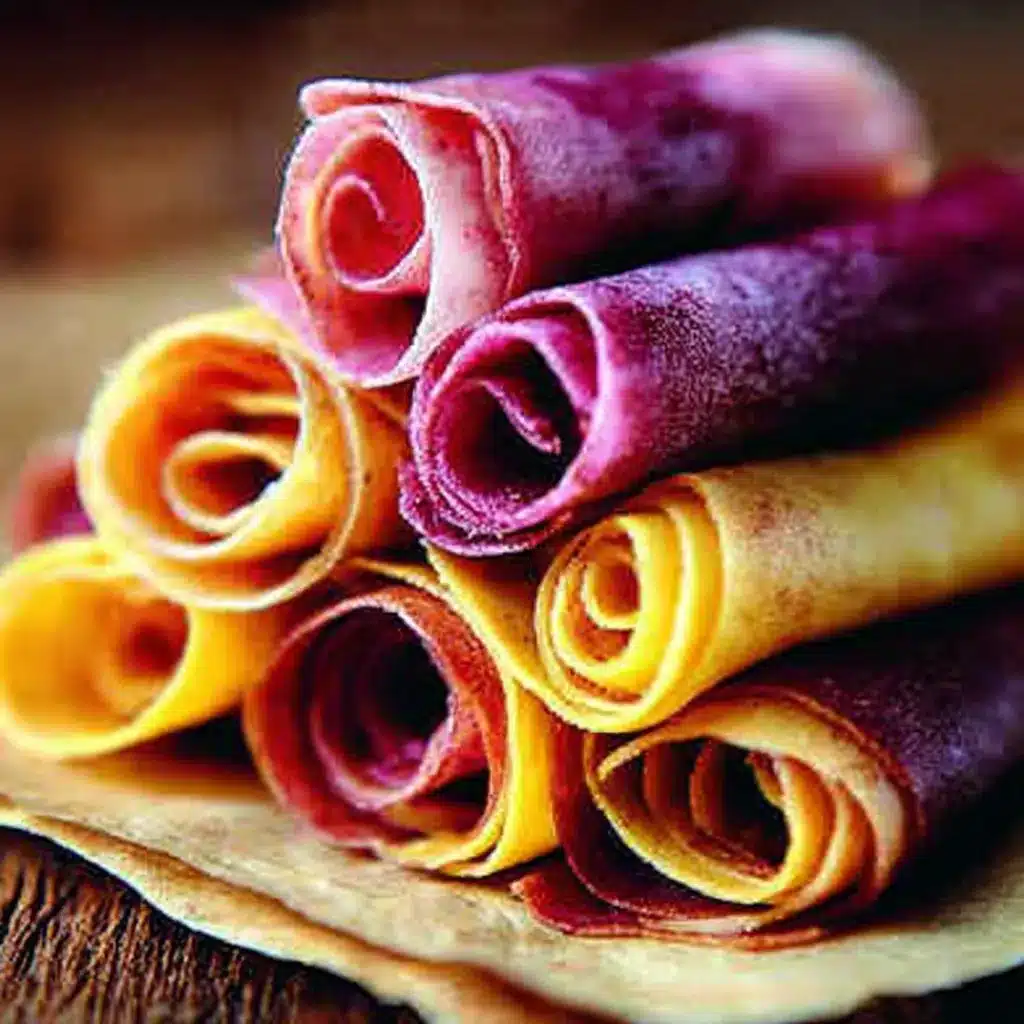
Homemade Fruit Roll-Ups are a simple and delicious way to make healthy fruit treats right at home. With only three ingredients and minimal prep, this recipe turns fresh berries into chewy, naturally sweet snacks that kids love. Many store-bought versions contain added sugars and preservatives, but these Homemade Fruit Roll-Ups rely on real fruit and honey for flavor. Because the process is straightforward, you can prepare a large batch and keep them ready for lunchboxes or after-school snacks. If you want kid-friendly snacks that feel fun while still being wholesome, this recipe makes a perfect choice.
Story
I started making Homemade Fruit Roll-Ups when I wanted a snack that felt exciting for kids yet still used real ingredients. Store-bought fruit leather often looks appealing, but many brands include added syrups and artificial flavors. So I decided to try Homemade Fruit Roll-Ups using fresh berries and a little honey.
The first batch surprised me. The texture turned out soft, chewy, and naturally sweet. Even better, the kitchen filled with the bright aroma of berries while the fruit slowly dried in the oven. Since then, Homemade Fruit Roll-Ups have become a regular treat in my kitchen.
Kids enjoy the colorful strips, while adults appreciate that these simple fruit leather snacks contain real fruit and no unnecessary extras. They also work as fun dessert ideas when you want something light after dinner.
Ingredients
-
5 cups berries (strawberries, raspberries, blueberries, or mixed berries)
-
1/4 cup honey
-
2 tablespoons lemon juice
Step-by-Step Instructions
Preparing the Ingredients
Start by preheating your oven to 170°F or the lowest temperature your oven allows. Line a large 17×12 inch rimmed baking sheet with parchment paper or a silicone baking mat so the fruit puree releases easily later.
Next, rinse the berries thoroughly and remove stems if necessary. Place the berries into a blender or food processor. Add the honey and lemon juice, then blend everything until the mixture becomes completely smooth.
For a smoother texture, pour the blended puree through a fine mesh strainer to remove seeds. This step creates a soft fruit leather texture that rolls neatly.
Cooking Instructions
Pour the smooth fruit puree onto the prepared baking sheet. Spread it evenly across the entire surface of the pan using a spatula so the thickness remains consistent.
Place the baking sheet in the oven and allow the puree to dry slowly for about 5 to 6 hours. Rotate the pan halfway through the drying time so the fruit leather dries evenly.
When the surface feels set and no longer sticky, remove the pan from the oven. Let it cool completely before handling. Once cooled, gently peel the fruit leather from the silicone mat or parchment paper. Place it on wax paper, cut into long strips, and roll them into classic fruit roll shapes.
Tips for Perfect Results
Common Mistakes to Avoid
Many first attempts fail because the puree layer spreads too thick. A thick layer takes longer to dry and may remain sticky. Spread the puree evenly and keep the layer thin across the pan.
Another issue happens when the oven temperature rises too high. Low heat allows the fruit to dry slowly without burning or cooking unevenly. Always use the lowest oven setting possible.
Finally, avoid removing the fruit leather too early. If it still feels sticky, allow additional drying time so the strips roll easily.
Pro Tips for Better Flavor
Use very ripe berries for the strongest fruit flavor. Naturally sweet fruit reduces the need for additional honey.
Mixed berries also create deeper flavor and vibrant color. Combining strawberries, raspberries, and blueberries produces a balanced sweetness and slight tartness.
For a small flavor twist, add a pinch of cinnamon or vanilla extract to the puree before blending.
Serving and Storage
How to Serve
Serve Homemade Fruit Roll-Ups as lunchbox snacks, after-school treats, or light desserts. Because they roll easily, they also make fun snacks for picnics, road trips, or outdoor activities. Kids especially enjoy unrolling the strips before eating them.

How to Store Leftovers
Store the finished fruit roll-ups in an airtight container at room temperature. When layered with wax paper, they stay fresh and easy to separate. Properly stored Homemade Fruit Roll-Ups last for up to two weeks.
Conclusion
Homemade Fruit Roll-Ups transform fresh berries into sweet, chewy snacks using only a few ingredients and a little patience. The slow drying process creates a natural fruit leather that tastes bright and fresh. Because this recipe avoids unnecessary additives, it offers a simple way to make healthy fruit treats your family will enjoy. Once you try these Homemade Fruit Roll-Ups, they will likely become a regular snack in your kitchen.
Discover more delicious recipes by following me on Facebook and Pinterest.
Frequently Asked Questions
Can I use frozen berries for fruit roll-ups?
Yes, frozen berries work well in Homemade Fruit Roll-Ups. Thaw them completely and drain excess liquid before blending so the puree maintains the right consistency.
Why are my fruit roll-ups still sticky?
Fruit leather becomes sticky when it has not dried long enough. Return the baking sheet to the oven for additional drying time until the surface feels set and slightly tacky but not wet.
Can I make fruit roll-ups without honey?
Yes. If the fruit tastes naturally sweet, you can skip the honey entirely. The recipe will still work, though the final flavor may taste slightly more tart.
Print
Homemade Fruit Roll-Ups
- Total Time: 5 hours 20 minutes
- Yield: 10 servings 1x
- Diet: Vegetarian
Description
Easy homemade fruit roll-ups made with berries, honey, and lemon juice. A chewy healthy snack kids love.
Ingredients
- 5 cups berries
- 1/4 cup honey
- 2 tbsp lemon juice
Instructions
- Preheat oven to 170°F or the lowest temperature your oven allows.
- Line a 17×12 inch baking sheet with parchment paper or a silicone baking mat.
- Rinse berries and remove stems if necessary.
- Add berries to a blender or food processor.
- Add honey and lemon juice then blend until smooth.
- Pour puree through a fine mesh strainer to remove seeds for a smoother texture.
- Pour the fruit puree onto the baking sheet and spread evenly.
- Bake for 5 to 6 hours, rotating the pan halfway through drying.
- Remove when the fruit leather is set and no longer sticky.
- Allow to cool completely then peel from the mat or parchment.
- Place on wax paper, cut into strips, and roll.
Notes
- Use ripe berries for better flavor.
- Spread puree evenly for consistent drying.
- Store in an airtight container up to 2 weeks.
- Prep Time: 20 minutes
- Cook Time: 5 hours
- Category: Snack
- Method: Baking
- Cuisine: American
Nutrition
- Serving Size: 1 roll
- Calories: 94
- Sugar: 19g
- Sodium: 2mg
- Fat: 1g
- Saturated Fat: 1g
- Unsaturated Fat: 0g
- Trans Fat: 0g
- Carbohydrates: 24g
- Fiber: 3g
- Protein: 1g
- Cholesterol: 0mg