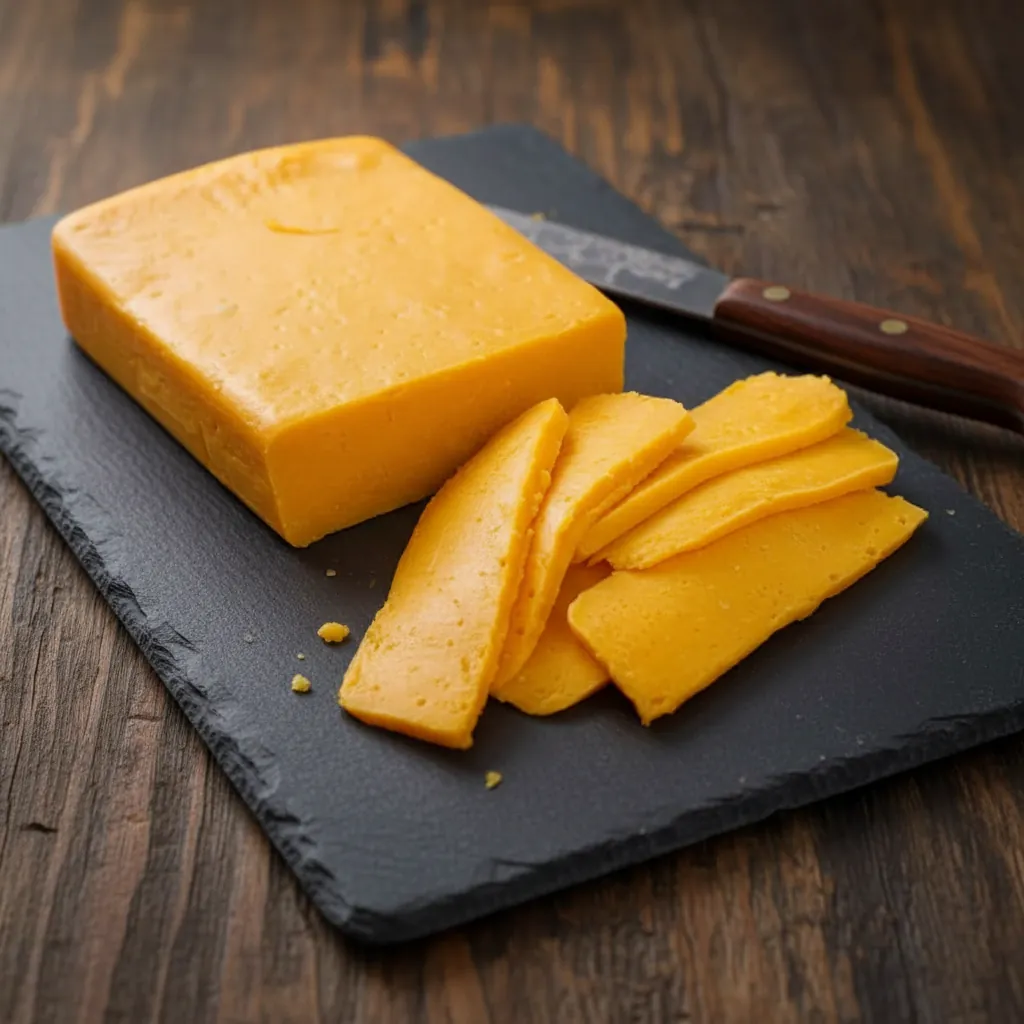
Homemade Processed Cheese is smooth, creamy, and surprisingly simple to prepare in your own kitchen. With just a few wholesome ingredients, you can create a sliceable, meltable cheese that tastes fresh and rich. Unlike store-bought versions, this recipe gives you full control over flavor and texture. Whether you spread it on toast, melt it into sandwiches, or serve it as a dip, this Homemade Processed Cheese delivers consistent results every time.
Story
I first made Homemade Processed Cheese when I wanted a dependable meltable cheese without additives. Store versions often felt overly salty or rubbery. So instead, I tested a small batch using farmer cheese, eggs, and butter. As the mixture warmed slowly on the stove, it transformed from grainy curds into a glossy, stretchy blend. That moment convinced me.
Now I prepare Homemade Processed Cheese whenever I need a reliable base for sandwiches or a creamy breakfast cheese for busy mornings. Because it blends smoothly and melts evenly, it works beautifully as a farmer cheese spread or even a quick savory cheese dip. Plus, this DIY meltable cheese slices cleanly after chilling, which makes meal prep easier.
Ingredients
-
1 pound farmer cheese (or dry curd cottage cheese)
-
2 large eggs
-
5 tablespoons unsalted butter, softened
-
1/2 teaspoon salt
-
1/2 teaspoon baking soda
Step-by-Step Instructions
Preparing the Ingredients
Add the farmer cheese, eggs, softened butter, salt, and baking soda to a medium saucepan. Use an immersion blender directly in the pan, or transfer the mixture to a standard blender. Blend until the texture becomes completely smooth and free of lumps. Scrape down the sides as needed so everything incorporates evenly before heating.
Cooking Instructions
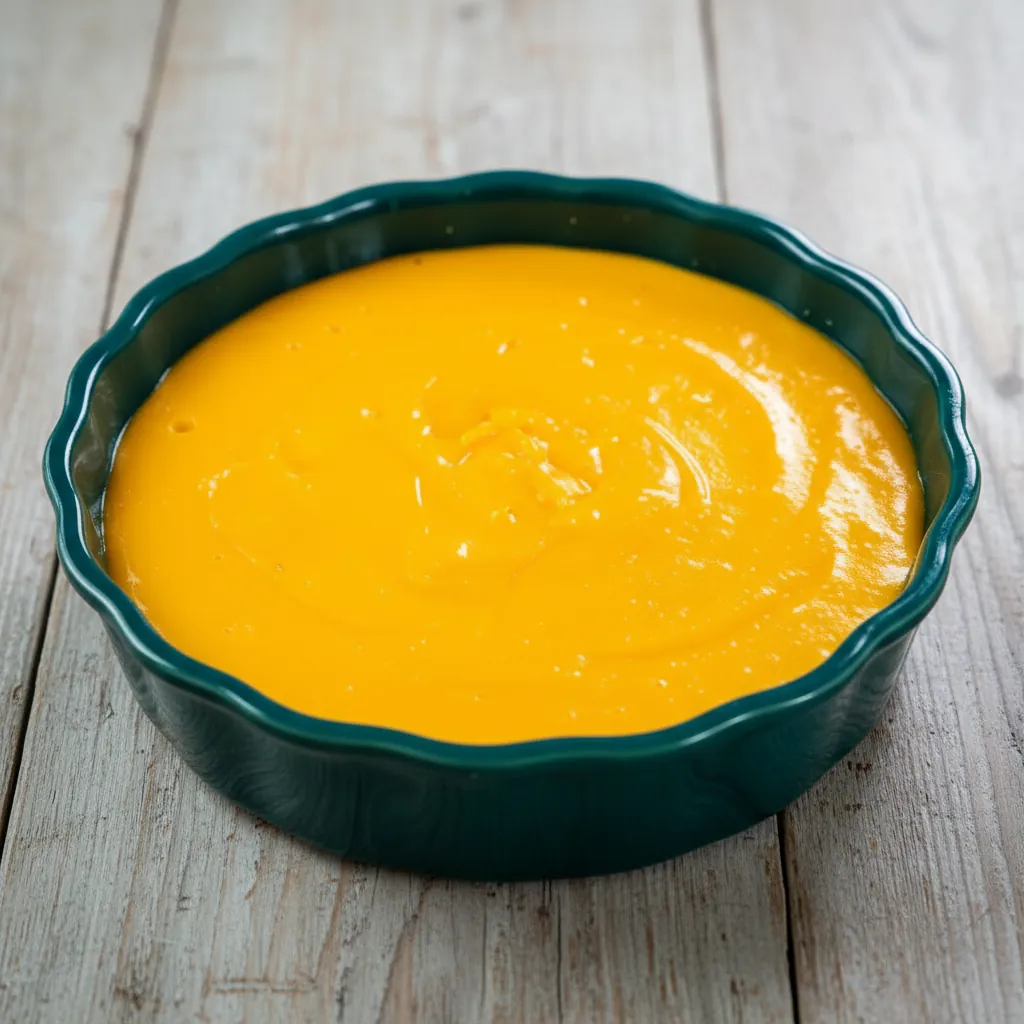
Place the saucepan over low heat and begin stirring immediately. Continue stirring constantly for 8 to 12 minutes. Gradually, the mixture will shift from soft and pale to smooth, glossy, and stretchy. Keep the heat low to prevent sticking or scorching. Once the cheese turns thick and creamy with a uniform texture, remove it from the heat. Pour it into a clean container or mold. Let it cool at room temperature, then refrigerate for at least 2 hours until fully set. Slice or spread as desired.
Tips for Perfect Results
Common Mistakes to Avoid
Always stir continuously while cooking. If you stop stirring, the mixture can form lumps or scorch on the bottom. Additionally, avoid high heat. Low and steady heat allows the baking soda to react properly and creates that smooth meltable consistency. Blend thoroughly before cooking so the finished Homemade Processed Cheese turns out silky instead of grainy.
Pro Tips for Better Flavor
For extra depth, stir in finely chopped herbs, garlic powder, or paprika before cooking. You can also adjust the salt slightly to suit your preference. If you want a softer homemade cheese spread, reduce chilling time slightly. For firmer slices, chill longer. Because this cheese melts well, it makes an excellent base for grilled sandwiches or warm dips.
Serving and Storage
How to Serve
Spread Homemade Processed Cheese on toast, bagels, or crackers for a quick breakfast. Layer slices into sandwiches for smooth melting. You can cube it for snack boards or melt it gently into pasta sauces. It also works beautifully as a warm, savory dip alongside vegetables or bread.
How to Store Leftovers
Store the cheese in an airtight container in the refrigerator for up to 5 days. Keep it tightly sealed to maintain freshness. When ready to use, slice directly from cold for clean cuts. If melting, warm gently over low heat or place into a hot sandwich press.
Conclusion
Homemade Processed Cheese proves that you do not need complicated ingredients to create a smooth, sliceable cheese at home. With simple pantry staples and careful stirring, you get a creamy, meltable result that fits breakfasts, lunches, and snacks. Try it once, and you will likely skip store-bought versions altogether.
Discover more delicious recipes by following me on Facebook and Pinterest.
Frequently Asked Questions
Why does baking soda matter in Homemade Processed Cheese?
Baking soda reacts with the acidity in farmer cheese. This reaction helps break down proteins and creates a smooth, stretchy texture. Without it, the cheese may remain grainy instead of glossy and meltable.
Can I use cottage cheese instead of farmer cheese?
Yes, but choose dry curd cottage cheese. Regular cottage cheese contains more moisture, which may affect texture. If necessary, drain it thoroughly before blending to maintain proper consistency.
Does Homemade Processed Cheese melt like store-bought slices?
Yes, it melts smoothly and evenly when heated gently. Because it contains butter and eggs, it creates a creamy texture that works perfectly in grilled sandwiches or warm dishes.
Print
Homemade Processed Cheese
- Total Time: 20 minutes
- Yield: 8 servings 1x
- Diet: Vegetarian
Description
Homemade Processed Cheese is smooth, creamy, and meltable with a rich texture perfect for spreading or slicing.
Ingredients
- 1 pound farmer cheese (or dry curd cottage cheese)
- 2 large eggs
- 5 tablespoons unsalted butter, softened
- 1/2 teaspoon salt
- 1/2 teaspoon baking soda
Instructions
- In a medium saucepan, combine the farmer cheese, eggs, softened butter, salt, and baking soda.
- Blend with an immersion blender until completely smooth.
- Place over low heat and cook while stirring constantly for 8 to 12 minutes until glossy and stretchy.
- Continue stirring to prevent sticking or scorching.
- Remove from heat once thick and creamy.
- Pour into a clean container and cool at room temperature.
- Refrigerate for at least 2 hours until fully set.
- Slice or spread as desired.
Notes
- Stir constantly to prevent lumps.
- Add herbs, garlic powder, or paprika for extra flavor.
- Store in an airtight container for up to 5 days.
- This cheese melts well for sandwiches and grilled cheese.
- Prep Time: 10 minutes
- Cook Time: 10 minutes
- Category: Breakfast
- Method: Stovetop
- Cuisine: American
Nutrition
- Serving Size: 1 serving
- Calories: 210
- Sugar: 1 g
- Sodium: 220 mg
- Fat: 16 g
- Saturated Fat: 10 g
- Unsaturated Fat: 5 g
- Trans Fat: 0 g
- Carbohydrates: 3 g
- Fiber: 0 g
- Protein: 14 g
- Cholesterol: 95 mg