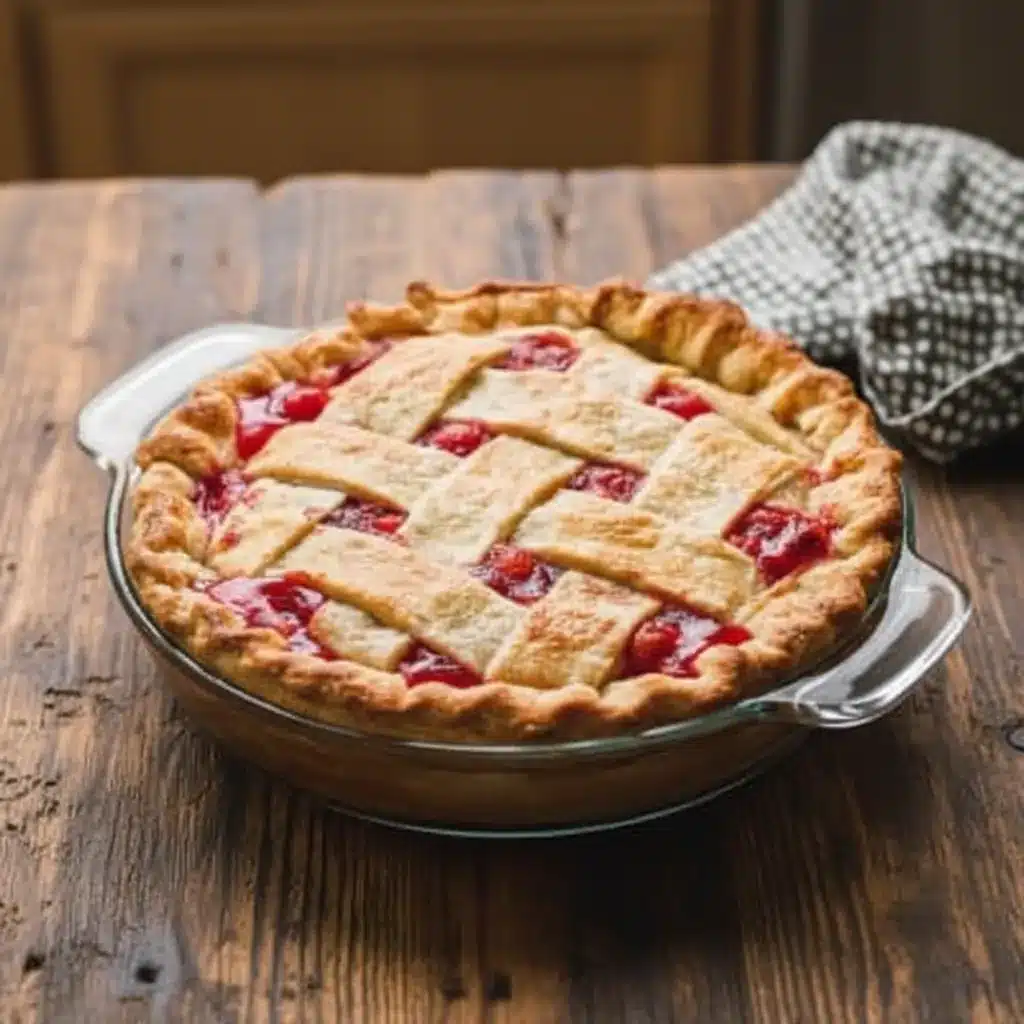
Cherry Pie stands as one of the most beloved American desserts, and this recipe delivers everything you expect from a classic cherry dessert. With a tender, buttery pie crust and a vibrant filling made from juicy cherries, this pie balances sweetness and tartness beautifully. Whether you’re baking for a holiday gathering or simply craving a comforting slice, this homemade cherry pie brings timeless flavor to your table. Even better, this recipe works perfectly as a frozen cherry pie recipe, making it convenient year-round when fresh cherries aren’t in season.
Story
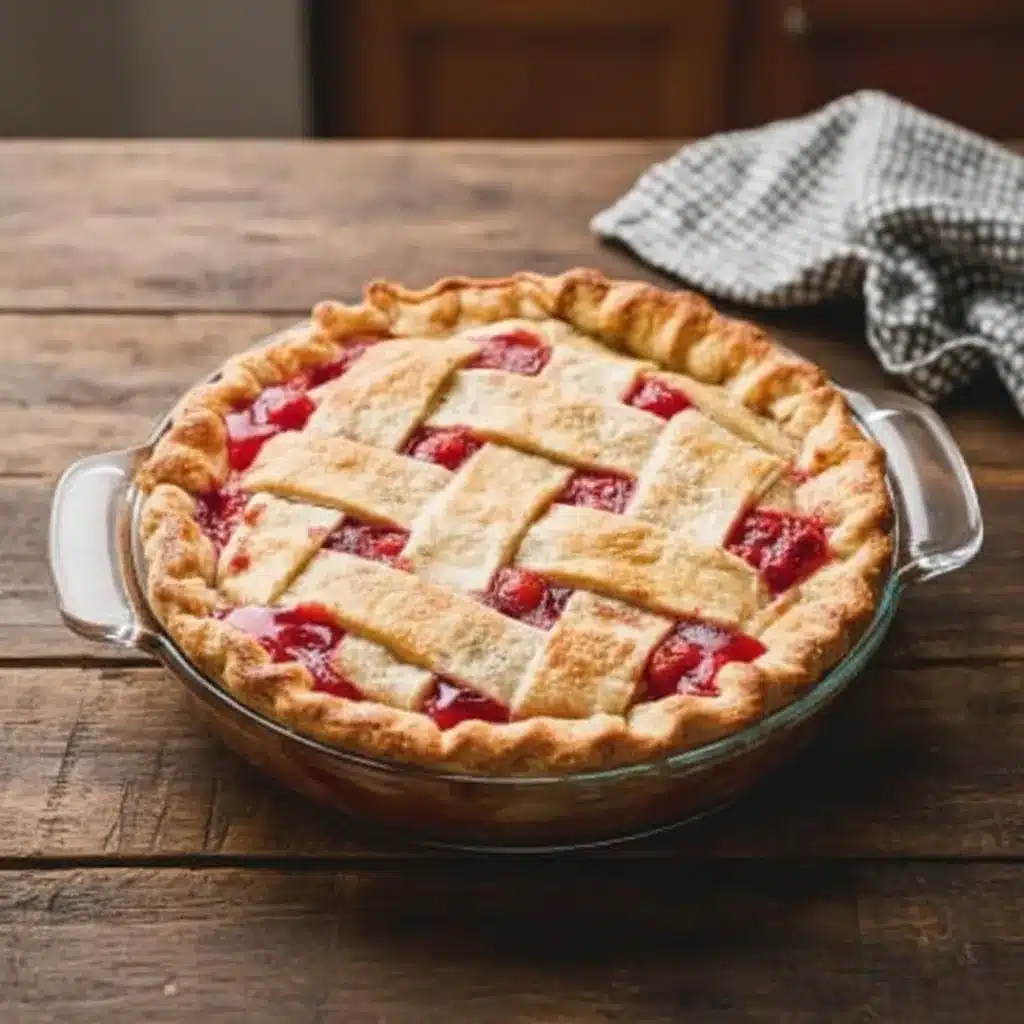
Cherry Pie always reminds me of summer gatherings where dessert became the centerpiece of the table. I first baked this Cherry Pie for a family celebration, and the aroma of bubbling cherries and golden crust instantly filled the kitchen. Since then, this Cherry Pie has become my go-to recipe whenever I want a dependable, crowd-pleasing dessert. Because it uses frozen fruit, you can prepare this Cherry Pie anytime without sacrificing flavor. The lattice top adds that traditional touch, transforming it into a beautiful lattice cherry pie that looks just as impressive as it tastes. Every slice delivers bright cherry flavor wrapped in tender, flaky layers.
Ingredients
For the Crust
-
3 cups all-purpose flour
-
1/2 cup powdered sugar
-
Pinch of salt
-
7 1/2 ounces (1 cup minus 1 tablespoon) cold unsalted butter, grated or cubed
-
6 tablespoons ice water
For the Filling
-
1 3/4 pounds (about 5 cups) frozen cherries, thawed and drained
-
1/2 cup granulated sugar
-
1/4 cup cornstarch
For Egg Wash
-
1 large egg
-
1 tablespoon milk
Step-by-Step Instructions
Preparing the Ingredients
In a large bowl, whisk together the flour, powdered sugar, and salt. Grate the cold butter directly into the flour mixture, then use your hands or a pastry cutter to blend until coarse crumbs form. Gradually add ice water, mixing gently until the dough just comes together. Divide into two portions, flatten into discs, wrap, and refrigerate for 1 hour. Meanwhile, combine the thawed and well-drained cherries, sugar, and cornstarch in a bowl, stirring until evenly coated. Preheat your oven to 350°F and grease a 9-inch pie dish.
Cooking Instructions
Roll out the larger dough portion on a floured surface and fit it into the prepared pie dish, pressing into the bottom and sides. Trim excess dough. Spoon the cherry filling evenly into the crust. Roll out the remaining dough and cut into strips to create a lattice pattern over the filling. Trim and crimp the edges to seal. Whisk the egg and milk, then brush over the lattice. Bake for 40 to 45 minutes until the crust turns golden brown and the filling bubbles. If the edges brown too quickly, cover them loosely with foil. Let the pie cool for at least 2 hours before slicing.
Tips for Perfect Results
Common Mistakes to Avoid
Always drain the cherries thoroughly to prevent excess liquid in your Cherry Pie. Avoid overworking the dough, as this can create a tough crust instead of a tender one. Also, resist slicing too soon; the filling needs time to set properly. Finally, monitor the crust during baking and shield the edges with foil if necessary.
Pro Tips for Better Flavor
Use very cold butter to achieve a flaky crust. For a sweeter filling, increase the sugar to 2/3 cup. If you want deeper flavor, add a small splash of vanilla extract or a squeeze of lemon juice to brighten the cherries. Brushing the lattice with egg wash creates a glossy, golden finish that makes your pie bakery-worthy.
Serving and Storage
How to Serve
Serve Cherry Pie slightly warm or at room temperature. Add a scoop of vanilla ice cream for a traditional pairing, or top with lightly sweetened whipped cream. This pie works beautifully for holidays, summer cookouts, or casual family dinners.
How to Store Leftovers
Store leftover pie covered at room temperature for up to 2 days. For longer storage, refrigerate for up to 4 days. You can also freeze the baked and cooled pie for up to 2 months; wrap it tightly in plastic wrap and foil before freezing. Thaw overnight in the refrigerator before serving.
Conclusion
Cherry Pie never goes out of style, and this easy recipe proves why it remains a favorite across generations. With its flaky crust, vibrant cherry filling, and beautiful lattice top, this dessert brings warmth and comfort to any occasion. Try this recipe once, and it will quickly become your trusted method for baking a memorable homemade pie.
Discover more delicious recipes by following me on Facebook and Pinterest.
Frequently Asked Questions
Can I use fresh cherries instead of frozen?
Yes, you can substitute fresh cherries when they are in season. Pit them first and use the same weight measurement. Make sure to drain any excess juice to maintain the correct filling consistency.
Why is my cherry filling watery?
A watery filling usually results from not draining the cherries thoroughly or slicing the pie before it cools completely. Allowing proper cooling time helps the cornstarch fully thicken the filling.
Can I make the pie crust ahead of time?
Absolutely. You can prepare the dough up to 2 days in advance and refrigerate it. You may also freeze the dough discs for up to 2 months and thaw them overnight in the refrigerator before rolling.
Print
Cherry Pie
- Total Time: 2 hours 10 minutes
- Yield: 8 servings 1x
- Diet: Vegetarian
Description
Cherry Pie with a buttery crust and sweet cherry filling. A classic homemade dessert perfect for holidays and gatherings.
Ingredients
- 3 cups all-purpose flour
- 1/2 cup powdered sugar
- Pinch of salt
- 7 1/2 ounces cold unsalted butter
- 6 tablespoons ice water
- 1 3/4 pounds frozen cherries, thawed and drained
- 1/2 cup granulated sugar
- 1/4 cup cornstarch
- 1 large egg
- 1 tablespoon milk
Instructions
- Whisk flour, powdered sugar, and salt. Cut in cold butter until crumbly.
- Add ice water gradually until dough forms. Chill for 1 hour.
- Mix cherries, sugar, and cornstarch until coated.
- Preheat oven to 350°F and grease a 9-inch pie dish.
- Roll out larger dough portion and fit into pie dish.
- Add cherry filling evenly into crust.
- Create lattice top with remaining dough strips and seal edges.
- Brush with egg wash.
- Bake 40 to 45 minutes until golden and bubbly.
- Cool at least 2 hours before slicing.
Notes
- Drain cherries thoroughly to prevent watery filling.
- Increase sugar to 2/3 cup for sweeter pie.
- Store covered at room temperature up to 2 days.
- Refrigerate up to 4 days or freeze up to 2 months.
- Prep Time: 25 minutes plus 1 hour chilling
- Cook Time: 45 minutes
- Category: Dessert
- Method: Baking
- Cuisine: American
Nutrition
- Serving Size: 1 slice
- Calories: 420
- Sugar: 28g
- Sodium: 150mg
- Fat: 19g
- Saturated Fat: 11g
- Unsaturated Fat: 6g
- Trans Fat: 0g
- Carbohydrates: 58g
- Fiber: 3g
- Protein: 5g
- Cholesterol: 65mg