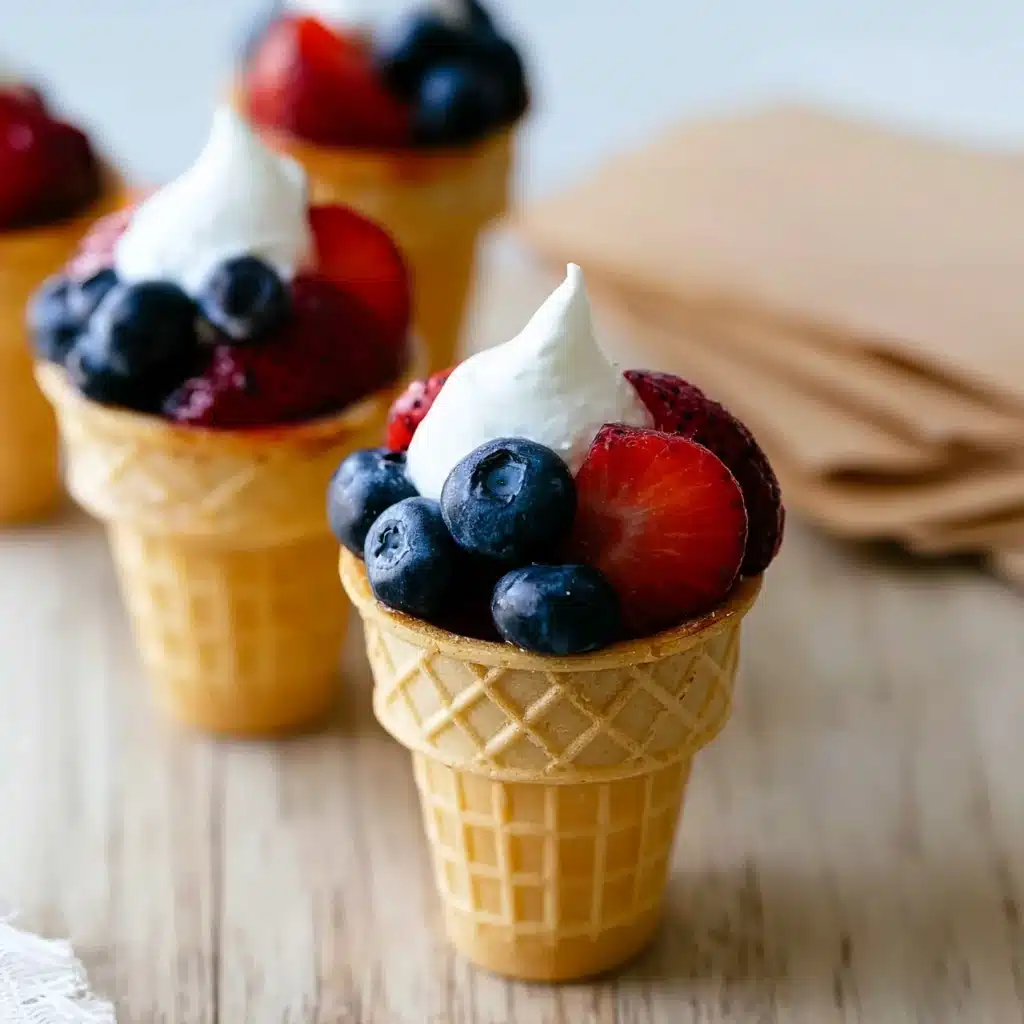
Fruit Cones turn ordinary fresh fruit into a playful treat that children and adults can enjoy within minutes. Crisp waffle cones hold juicy strawberries, blueberries, grapes, and pineapple, while a spoonful of creamy whipped topping adds a light dessert finish. This recipe works beautifully for after-school snacks, birthday parties, summer cookouts, classroom celebrations, and family gatherings. Furthermore, you can prepare the fruit ahead of time and assemble each cone right before serving. When you need easy fruit snacks that look cheerful without requiring complicated work, these simple Fruit Cones offer a fresh, convenient, and crowd-pleasing answer.
Story
I first made Fruit Cones when I needed a quick snack that felt more exciting than a standard bowl of fruit. Although everyone enjoyed the same familiar berries, grapes, and pineapple, serving them inside crunchy cones immediately made snack time feel special. Since then, Fruit Cones have become one of my favorite choices for warm afternoons, children’s parties, and casual family celebrations. The colorful fruit looks festive, while the crisp cone makes each serving portable and easy to hold. In addition, the recipe requires no oven, mixer, or special kitchen equipment. You simply rinse the fruit, chop larger pieces, fill the cones, and add a creamy topping. For a classic dessert-style version, use thawed Cool Whip. Alternatively, spoon vanilla Greek yogurt over the fruit for a tangier, protein-rich option. You can also change the fruit according to the season. Peaches and blackberries work well in summer, while apples, pears, and seedless grapes suit cooler months. Because Fruit Cones allow so many combinations, they never feel repetitive. They also make charming waffle cone fruit servings for showers, picnics, and buffet tables. Most importantly, guests can eat them without plates or forks, which keeps serving and cleanup simple.
Ingredients
Use eight medium waffle cones, one cup hulled and diced strawberries, one cup blueberries, one cup seedless grapes cut in half, one cup diced fresh pineapple, one teaspoon fresh lemon juice, and one cup thawed Cool Whip. For optional garnishes, add two tablespoons mini chocolate chips, one tablespoon chopped fresh mint, or colorful sprinkles. Choose firm, ripe fruit without bruised or overly soft areas. If young children will eat the cones, quarter the grapes lengthwise rather than halving them. You may replace any fruit with diced mango, kiwi, raspberries, blackberries, mandarin oranges, peaches, or melon. Vanilla Greek yogurt can replace the whipped topping when you want a creamy alternative with less sweetness.
Step-by-Step Instructions
These Fruit Cones come together quickly, but careful preparation keeps the cones crisp and the fruit bright. First, wash and dry every piece of fruit thoroughly. Next, cut the larger fruit into small, bite-sized pieces that fit comfortably inside the cones. Toss the prepared fruit gently with lemon juice, and then keep it chilled until you plan to serve it. Finally, fill each cone shortly before eating so fruit juice does not soften the waffle shell.
Preparing the Ingredients
Rinse the strawberries, blueberries, grapes, and pineapple under cool running water. Afterward, place them on clean kitchen towels and pat them completely dry. Remove the strawberry stems, and cut the berries into pieces close to the size of the blueberries. Halve or quarter the grapes, depending on who will eat them, and dice the pineapple into small cubes. Place all the prepared fruit in a large mixing bowl. Drizzle the lemon juice over it, and fold everything together with a flexible spatula. Mix gently because rough stirring can crush the berries and release excess juice. Cover the bowl and refrigerate the fruit if you will not assemble the cones immediately.
Cooking Instructions
This no-cook recipe requires only assembly. Stand the waffle cones upright in drinking glasses, a muffin pan, or a cone holder. Spoon about one-half cup of mixed fruit into each cone, alternating the colors as you fill it. Avoid packing the fruit tightly because pressure can crack the cone. Add two tablespoons of Cool Whip to the top of each serving. Then garnish with mini chocolate chips, chopped mint, or a small pinch of sprinkles. Serve the Fruit Cones immediately while the shells remain crunchy. When preparing them for a party, arrange the empty cones beside chilled fruit and toppings so guests can build their own combinations.
Tips for Perfect Results
Successful Fruit Cones depend on dry fruit, balanced pieces, and last-minute assembly. Therefore, give the washed fruit enough time to drain before filling the cones. Cut each variety into similar sizes so every bite contains several flavors. Moreover, keep the mixture cold because chilled fruit tastes refreshing and helps the whipped topping hold its shape. These small steps create attractive party fruit ideas without adding difficult preparation.
Common Mistakes to Avoid
Do not place wet fruit directly into the waffle cones. Water and fruit juice quickly soak into the shells and make them chewy. Likewise, avoid assembling the cones hours before serving. Prepare the fruit early, but fill the cones no more than ten to fifteen minutes before guests begin eating. Do not cut soft berries too finely because they can break apart and coat the other fruit with juice. Additionally, avoid overfilling each cone. A large mound may look generous, but fruit can spill as soon as someone picks it up. Leave enough room for the whipped topping, and keep the finished serving comfortable to hold.
Pro Tips for Better Flavor
Choose fruit with contrasting flavors and textures. Sweet pineapple pairs nicely with tart strawberries, while juicy grapes balance delicate blueberries. For a tropical version, combine mango, kiwi, pineapple, and mandarin oranges. For berry Fruit Cones, use strawberries, blueberries, raspberries, and blackberries. You can brush the inside rim of each cone with melted chocolate and let it set before filling. The chocolate creates extra flavor and also forms a light barrier between the juicy fruit and the cone. Furthermore, toasted coconut, granola, chopped nuts, or mini chocolate chips add crunch. A small spoonful of vanilla yogurt beneath the fruit creates creamy layers and turns the cones into fun healthy desserts with a parfait-style texture.
Serving and Storage
Fruit Cones taste best immediately after assembly, yet you can prepare individual components several hours in advance. Store the chopped fruit and creamy topping in separate covered containers in the refrigerator. Keep the waffle cones sealed at room temperature so they stay crisp. Then assemble everything shortly before serving.
How to Serve
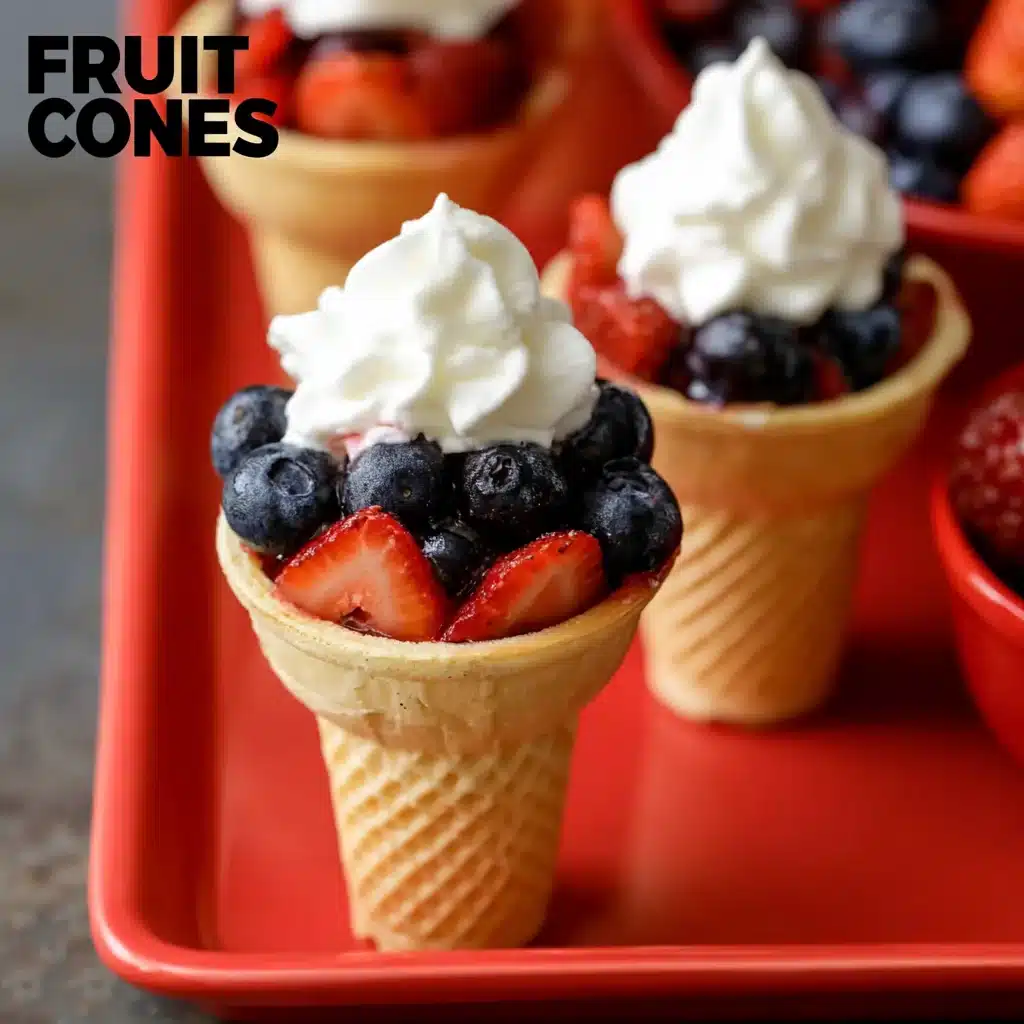
Place the finished Fruit Cones upright in narrow glasses, a cupcake pan, or a cardboard cone stand. For children’s parties, offer small bowls of toppings such as granola, coconut, mini chocolate chips, and sprinkles. Guests can choose their favorites and create personalized cones. These servings also pair well with sandwiches, grilled foods, picnic dishes, or a simple brunch spread. For an after-school snack, serve one cone with a cheese stick or a handful of nuts. For dessert, add an extra swirl of whipped topping and a drizzle of melted chocolate. Decorative paper wrapped around the outside of each cone can match birthdays, holidays, school events, or baby showers, but keep the paper away from the food.
How to Store Leftovers
Store leftover fruit in an airtight container in the refrigerator for up to two days. Keep leftover Cool Whip refrigerated in a separate covered container. Do not refrigerate assembled Fruit Cones because moisture will soften the shells. Instead, remove any remaining fruit from the cones and discard soggy shells. Store unused waffle cones in their original package or another airtight container at room temperature. If the fruit releases liquid during storage, drain it before building fresh servings. Freezing does not work well because thawed fruit becomes soft and watery. However, you can blend very soft leftovers into a smoothie rather than throwing them away.
Conclusion
Fruit Cones prove that a quick snack can still look festive, colorful, and inviting. With crisp waffle cones, fresh seasonal fruit, and a creamy topping, this recipe offers sweetness, crunch, and freshness in every bite. Furthermore, the simple method makes it easy to adapt for parties, school snacks, holidays, or relaxed afternoons at home. Gather your favorite fruit, prepare a few cones, and let everyone create a combination they will enjoy.
Discover more delicious recipes by following me on Facebook and Pinterest.
Frequently Asked Questions
Can I Make Fruit Cones Ahead of Time?
Prepare the fruit up to six hours ahead, cover it tightly, and refrigerate it. However, wait until shortly before serving to place the fruit inside the cones. Early assembly gives the juice time to soak into the shells. For the best crunch, fill each cone within ten to fifteen minutes of serving. You can also arrange a self-serve station with empty cones, chilled fruit, and several toppings.
What Fruit Works Best in Fruit Cones?
Firm fruit works best because it holds its shape and releases less liquid. Strawberries, blueberries, seedless grapes, pineapple, mango, kiwi, blackberries, peaches, and melon all make good choices. Avoid overly ripe bananas unless you serve the cones immediately because bananas brown and soften quickly. Also, cut slippery or round fruit into safe pieces for younger children. Combining three or four colors gives each cone the brightest presentation.
Can I Make Fruit Cones Without Cool Whip?
You can leave off the Cool Whip or replace it with vanilla Greek yogurt, regular vanilla yogurt, coconut whipped topping, homemade whipped cream, or a spoonful of fruit dip. Yogurt adds a pleasant tang and works especially well for breakfast or snack servings. Homemade whipped cream tastes rich, although it softens faster than stabilized whipped topping. Add any creamy ingredient immediately before serving so the cones remain crisp.

Fruit Cones
- Total Time: 15 minutes
- Yield: 8 cones 1x
- Diet: Vegetarian
Description
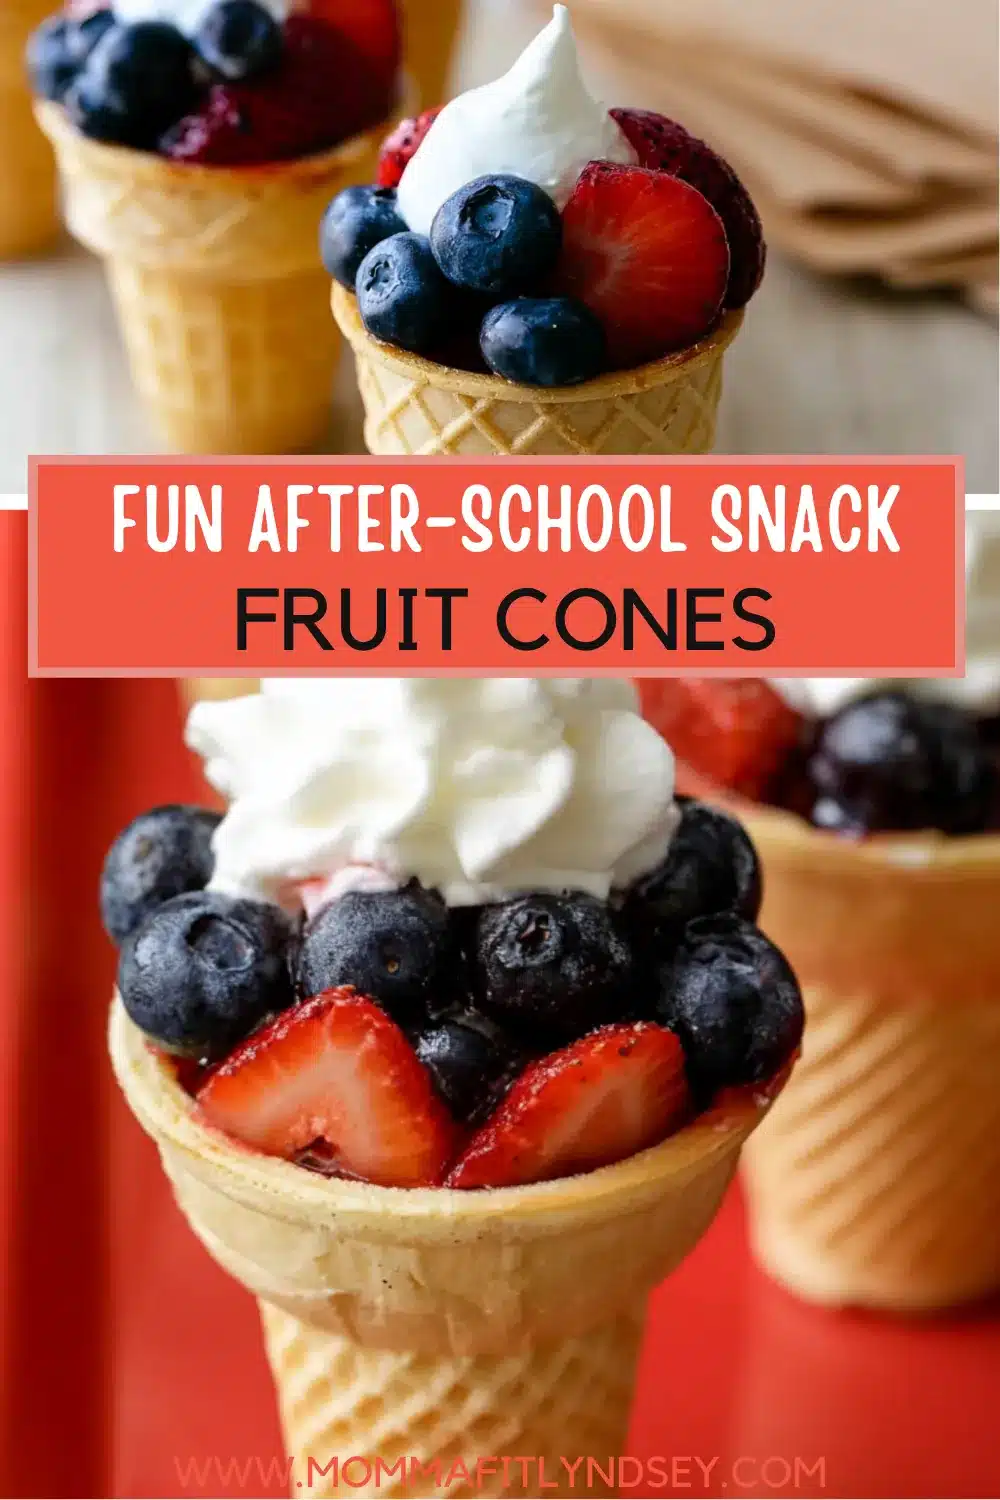
Fresh Fruit Cones combine strawberries, blueberries, grapes, and pineapple in crisp waffle cones topped with creamy Cool Whip. They make a quick no-bake snack or colorful party dessert.
Ingredients
- 8 medium waffle cones
- 1 cup strawberries, hulled and diced
- 1 cup fresh blueberries
- 1 cup seedless grapes, halved or quartered lengthwise
- 1 cup fresh pineapple, diced
- 1 teaspoon fresh lemon juice
- 1 cup Cool Whip, thawed
- 2 tablespoons mini chocolate chips, optional
- 1 tablespoon chopped fresh mint, optional
- Colorful sprinkles, optional
Instructions
- Wash the strawberries, blueberries, grapes, and pineapple under cool running water.
- Dry the fruit thoroughly with clean kitchen towels.
- Remove the strawberry stems and dice the berries into bite-sized pieces.
- Halve or quarter the grapes lengthwise and dice the pineapple into small cubes.
- Place all prepared fruit in a large bowl and drizzle it with the lemon juice.
- Fold the fruit together gently without crushing the berries.
- Stand the waffle cones upright in drinking glasses, a muffin pan, or a cone holder.
- Spoon about one-half cup of mixed fruit into each cone.
- Top each cone with about two tablespoons of Cool Whip.
- Add mini chocolate chips, chopped mint, or sprinkles, if desired.
- Serve immediately while the waffle cones remain crisp.
Notes
- Dry the washed fruit completely before filling the cones.
- Assemble the cones no more than 10 to 15 minutes before serving.
- Vanilla Greek yogurt can replace the Cool Whip.
- Quarter grapes lengthwise when serving young children.
- Store the fruit, topping, and unused cones separately.
- Nutrition values are estimated per cone and include Cool Whip.
- Prep Time: 15 minutes
- Category: Snack
- Method: No-Cook
- Cuisine: American
Nutrition
- Serving Size: 1 cone
- Calories: 148
- Sugar: 17
- Sodium: 48
- Fat: 3
- Saturated Fat: 2
- Unsaturated Fat: 1
- Trans Fat: 0
- Carbohydrates: 29
- Fiber: 2
- Protein: 2
- Cholesterol: 0