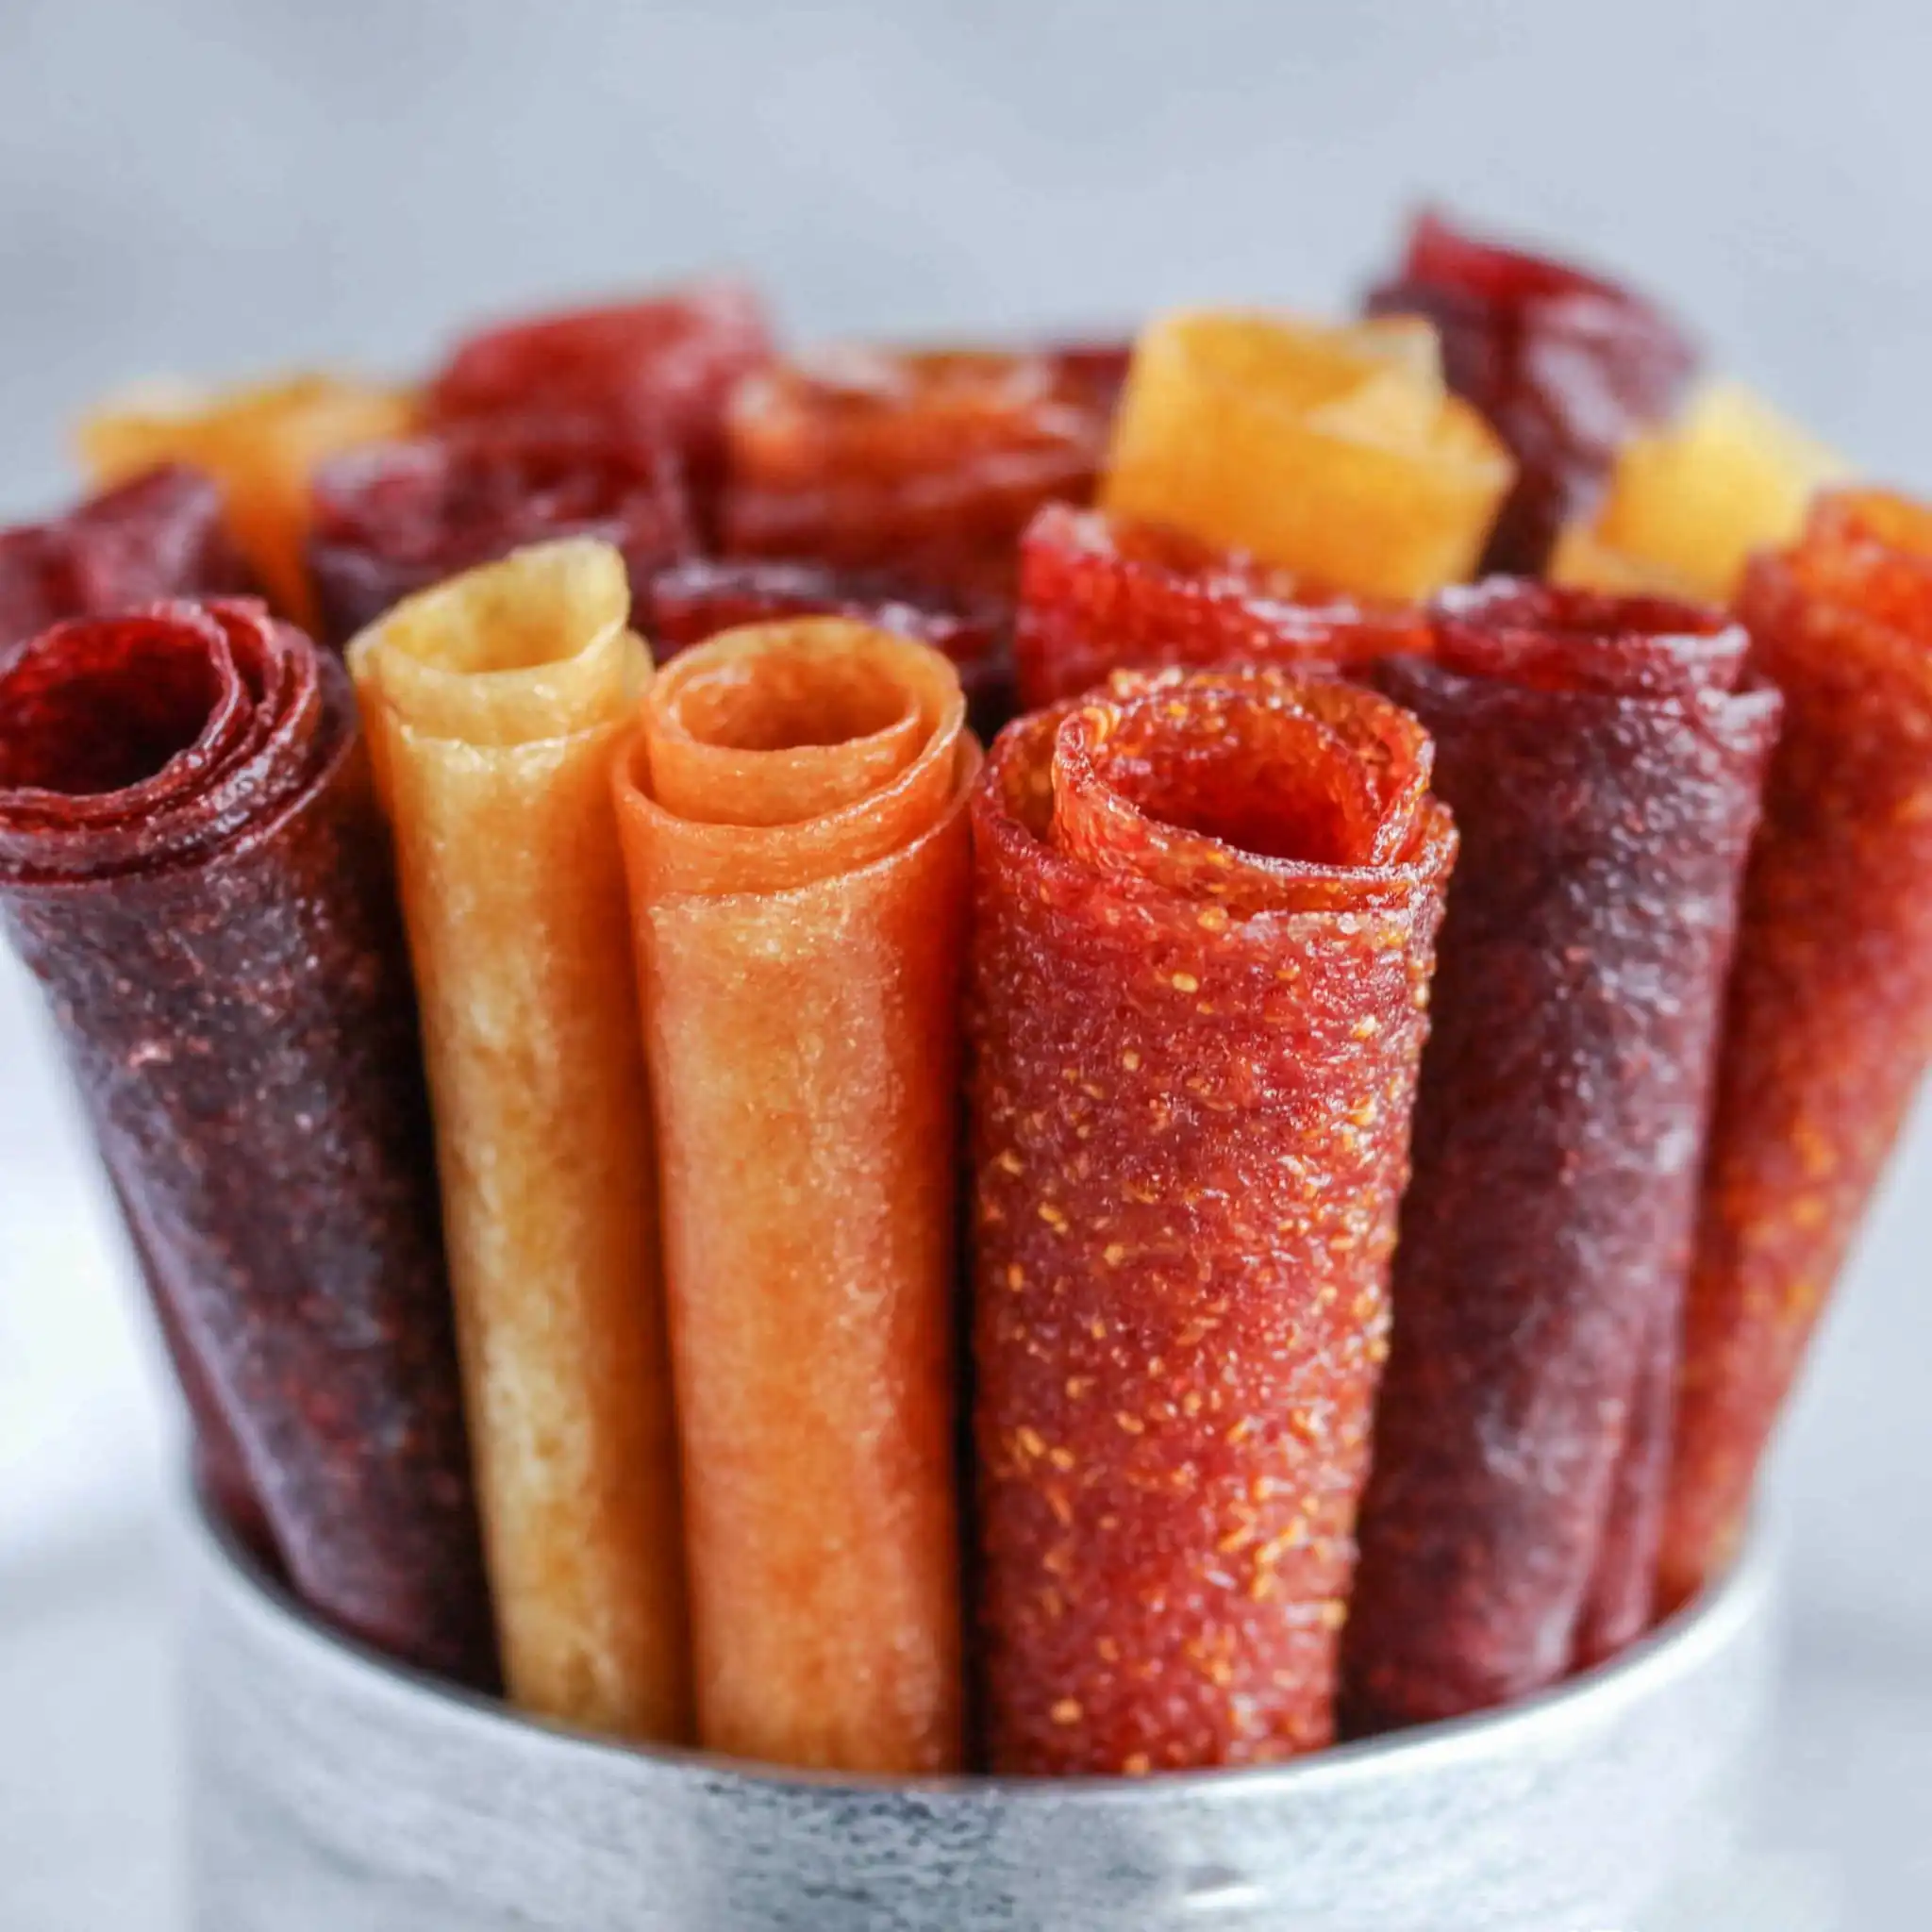
Making a Fruit Leather Recipe at home is one of the simplest ways to turn fresh fruit into a fun, budget-friendly snack. Instead of buying packaged rolls with extra additives, this homemade version uses only a few pantry ingredients and delivers a naturally fruity flavor. Better yet, you can customize it with seasonal fruit and adjust the sweetness to your taste. Since this recipe uses a low oven temperature and minimal hands-on work, it fits easily into a busy schedule. If you enjoy homemade fruit leather, love a 3-ingredient snack, or want an easy kids snack, this recipe deserves a spot in your kitchen routine.
Story
The first time I made this Fruit Leather Recipe, I wanted a simple way to use extra fruit before it became overripe. After one batch, there was no going back. The texture turned out soft and chewy, and the flavor tasted brighter than anything from a box. Since then, this Fruit Leather Recipe has become a regular homemade snack because it works with nearly any fruit. It also travels well for lunchboxes and quick bites during the day. Plus, because this oven fruit leather requires very little active cooking, it feels surprisingly simple while delivering a result everyone reaches for.
Ingredients
- 2 cups fruit, chopped
- 3 tablespoons white sugar
- Juice of ½ lemon
Step-by-Step Instructions
Preparing the Ingredients
Preheat the oven to 200°F. Add the chopped fruit, sugar, and lemon juice to a blender and blend until completely smooth. Transfer the puree into a medium saucepan and bring it to a gentle simmer over medium-high heat. Lower the heat to medium-low and stir often for 35–45 minutes until the mixture becomes thicker and more concentrated. Meanwhile, line a baking sheet with non-waxed parchment paper and prepare it for spreading.
Cooking Instructions
Pour the thickened fruit mixture onto the prepared baking sheet and spread it into an even layer with a spatula. Place the tray in the oven and bake for 3 to 3½ hours until the surface no longer feels tacky. Remove the tray and cool completely. Lift one corner and check the underside. If moisture remains, return the sheet to the oven with the moist side facing upward for another 20 minutes. Once fully dried and cooled, cut the fruit leather and parchment into strips with kitchen shears, roll each strip with parchment facing outward, and refrigerate for up to one week.
Tips for Perfect Results
Common Mistakes to Avoid
Avoid spreading the fruit too thick because uneven drying creates sticky sections. Also, avoid using wax paper because it sticks during baking. Stir the fruit mixture frequently while reducing it so sugars do not scorch. In addition, do not rush the drying time because properly dried fruit leather peels cleanly and stores better. Finally, cool the sheet fully before cutting so the texture stays flexible instead of tearing.
Pro Tips for Better Flavor
Choose ripe fruit for stronger natural sweetness and better texture. Strawberries, peaches, mangoes, berries, and apples all work well. If your fruit tastes especially sweet, reduce the sugar slightly. For brighter flavor, add a small extra squeeze of lemon juice. You can also blend combinations of fruits to create different varieties while keeping the method exactly the same.
Serving and Storage
How to Serve
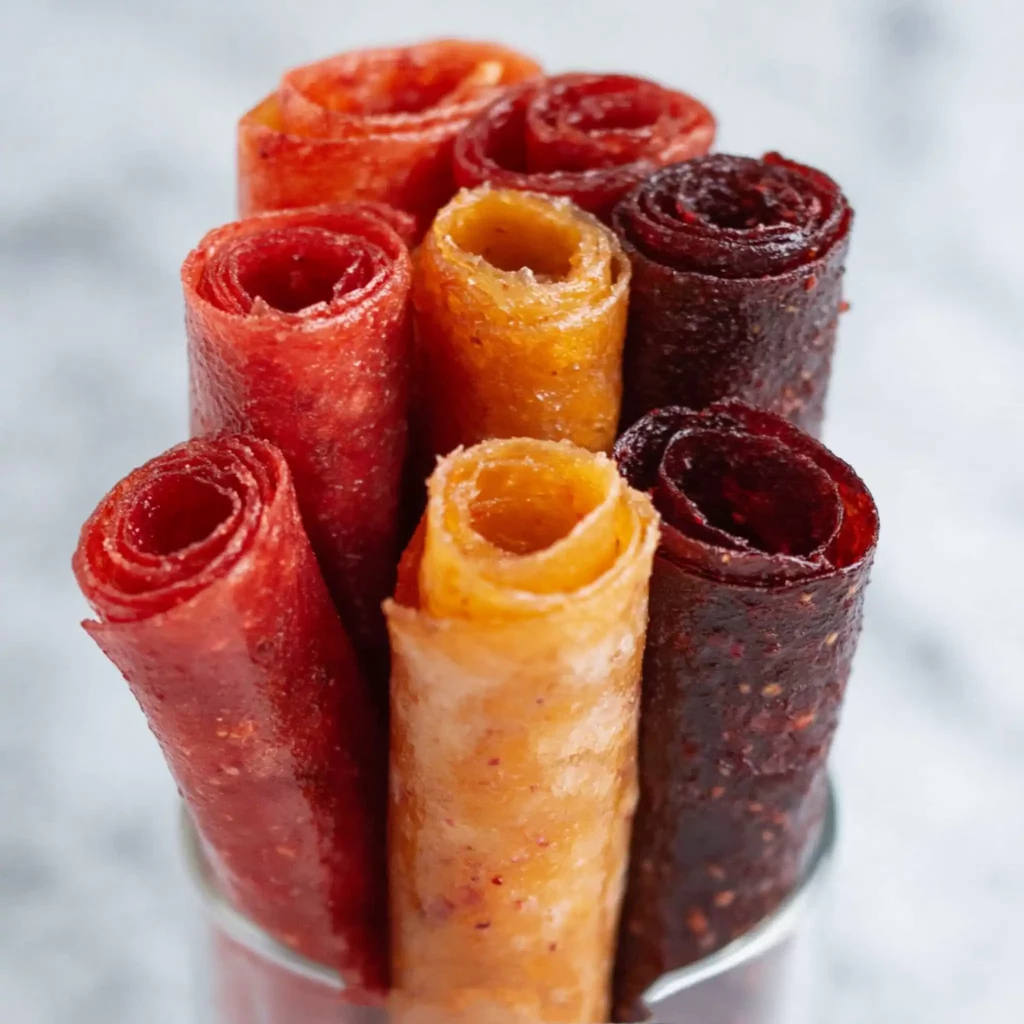
Serve fruit leather rolled into individual strips for lunchboxes, afternoon snacks, road trips, or quick breakfasts. It pairs especially well with yogurt, cheese, or a handful of nuts. Because it stores neatly, this snack also works well for meal prep and family snack containers.
How to Store Leftovers
Store the rolled strips in a sealed zipper bag or airtight container in the refrigerator for up to one week. Place parchment between pieces to prevent sticking. For longer storage, freeze individual rolls and thaw them briefly before eating.
Conclusion
This Fruit Leather Recipe turns simple ingredients into a practical homemade snack with very little effort. It saves money, reduces food waste, and gives you complete control over flavor and sweetness. Once you make a batch and taste the difference, packaged fruit rolls become much easier to skip.
Discover more delicious recipes by following me on Facebook and Pinterest.
Frequently Asked Questions
What fruit works best for fruit leather?
Most fruits work well, including strawberries, peaches, apples, mangoes, blueberries, and mixed berries. Softer fruits blend more easily and often create smoother texture.
Why is my fruit leather sticky?
Sticky fruit leather usually needs more drying time. Return it to the oven in short intervals until both sides feel dry but flexible.
Can I make fruit leather without sugar?
Yes. If your fruit is naturally sweet, skip the sugar entirely. The finished texture may vary slightly depending on the fruit used.
Print
Fruit Leather
- Total Time: 3 hours 45 minutes
- Yield: 12 servings 1x
- Diet: Vegetarian
Description
Easy homemade fruit leather made with fruit, sugar, and lemon juice. Budget-friendly and perfect for snacking.
Ingredients
- 2 cups fruit, chopped
- 3 tbsp white sugar
- Juice of 1/2 lemon
Instructions
- Preheat oven to 200°F
- Blend fruit, sugar, and lemon juice until smooth
- Simmer mixture 35–45 minutes until thickened
- Line baking sheet with parchment paper
- Spread mixture evenly
- Bake 3 to 3½ hours
- Cool completely
- Dry additional 20 minutes if needed
- Cut into strips and roll
- Store refrigerated
Notes
- Use ripe fruit
- Store up to 1 week
- Dry fully before rolling
- Prep Time: 45 minutes
- Cook Time: 3 hours
- Category: Snack
- Method: Baked
- Cuisine: American
Nutrition
- Serving Size: 1 strip
- Calories: 52
- Sugar: 10
- Sodium: 1
- Fat: 0
- Saturated Fat: 0
- Unsaturated Fat: 0
- Trans Fat: 0
- Carbohydrates: 13
- Fiber: 1
- Protein: 0
- Cholesterol: 0